 Перейти к содержимому
Buying the camera is usually the easy part. The harder question comes when the box is open and the ladder is out: where should it actually go?
A camera at the right spot can give you a clear view of a doorway, driveway, or side path. Put it too high, point it into the sun, or aim it at the wrong corner, and even a good camera may capture little useful detail.
The best locations are usually the ones that cover how people and vehicles actually move around the property. Here are eight practical spots to consider, along with tips on height, viewing angle, and common placement mistakes.
What Should You Consider When Choosing a Camera Location?
A camera location is a compromise: coverage, identification distance, light, power, and privacy all pull in different directions.
Start with a sketch of the property — a rough floor plan on paper is enough. Mark every way a person can enter: front door, back door, side gate, garage, and any low window or fence line someone could climb over. Then mark what you actually want to protect, such as the car, the tool shed, or the kids’ play area. That ten-minute drawing answers most placement questions before a single bracket gets drilled.
The second trade-off is coverage versus identification. A camera can either recognize detail — a face, a jacket, a license plate — or watch a wide area for general activity, and the wider the view, the fewer pixels each person occupies. Most properties need both roles filled: tight identification views at entrances, plus one or two wide overview cameras for the driveway and yard.
Light direction comes next. A camera aimed toward the sunrise, the sunset, or a bright streetlight spends half the day shooting silhouettes. The strongest positions have light coming from behind or beside the camera, so faces approaching the lens are lit, not backlit.
Power and cabling shape the budget more than most buyers expect. Running PoE cable through walls and attic spaces takes labor and conduit, which is why many properties now use камеры на солнечных батареях for the far corners — no trench, no conduit, no electrician.
Finally, check privacy rules before committing to a position. Cameras should cover your own doors, driveway, and yard, not a neighbor’s windows or the public sidewalk as their main subject. Local rules vary, and the cheapest way through is to keep the lens pointed at your own property.
What Are the 8 Best Places to Install Outdoor Security Cameras?

Most break-ins do not start in hidden corners; they start at doors, so cameras belong there first.
Federal victimization data from the U.S. Bureau of Justice Statistics shows year after year that a large share of completed break-ins begin at a door, not a window or a wall. The list below follows that reality: doors first, approach paths second, overview positions last.
1. Front Door
The busiest entrance on almost any property: packages, visitors, couriers, and anyone casing the house all pass through this frame. Mount the camera high on the door frame or beside it, tilted down slightly so the step and the walkway to the street are both in view. A visible front-door camera can also make the entrance easier to monitor and gives you a clear view of people approaching the property.
2. Back and Side Doors
Intruders prefer doors that face less traffic, and back doors usually qualify: less lighting, fewer neighbors, more cover. Back entrances are also the ones most often left unlocked. Give the back door its own camera rather than hoping the backyard overview catches it, and if a side door is rarely used, one wide-angle camera watching the whole side approach is usually enough.
3. Driveway
The driveway covers both vehicle activity and foot traffic approaching the house. Place the camera along the driveway rather than directly across it. A view facing approaching vehicles gives you a better look at the front of the vehicle and its plate, while a side view can make identification harder.
4. Garage and Garage Doors
Garage doors can provide another access point to the property, while the garage itself may contain vehicles, bicycles, tools, and other valuable items. One camera outside covers the apron in front of the door; a second inside the garage records anyone who slips in after the opener runs. Interior garage footage also settles the classic question of whether the door was actually closed at night.
5. Backyard
Backyards often combine several areas that need coverage, including play areas, pools, sheds, patios, and equipment storage. An elevated camera on the back wall of the house watches the whole space at once. Just keep the lens angled away from patio windows at night, where infrared light bounces straight back into the sensor.
6. Side Yards and Narrow Pathways
A side yard is a natural funnel — anyone circling the house toward the back has to use it. One camera at the far end, looking back along the path, covers the entire corridor and catches people in mid-stride instead of at the edge of the frame. These narrow lanes also protect the air conditioning units and utility boxes.
7. Gates and Property Entrances
A gate camera is the earliest warning point on the property: it records visitors before they reach the house, and it shows which direction they came from. Mount it on the gate post or the fence line beside it, high enough to see over the gate when it opens. For business sites and compounds, the main gate is often a practical location for monitoring vehicles, visitors, and activity before they reach the main building.
8. Second-Floor or Roofline Overview
An elevated camera under a second-floor eave watches the whole front yard, driveway, and walkway in one frame. It will not identify a face at the sidewalk, but that is not its job — the entrance cameras handle detail while this one answers the broader question of what happened across the property, and it stays out of reach of anyone at ground level.
How High Should an Outdoor Security Camera Be?

Mount high enough to stay out of reach, low enough to catch faces instead of hat brims.
The working rule for doors and entrances is 8 to 10 feet (2.4 to 3 meters) above the ground. At that height the camera looks down at a gentle angle, keeps faces in frame instead of the tops of heads, and still sits above the reach of a person standing on a step or a chair.
Going higher is not safer — it is usually worse. A steep downward angle turns every visitor into a floating cap, and footage that shows clothing but no face loses most of its value in a dispute. Going lower invites tampering: a camera at chest height can be covered with a hand, turned away, or unplugged in seconds.
| Расположение | Recommended Height | Why It Works |
|---|---|---|
| Front and back doors | 8–10 ft (2.4–3 m) | faces stay in frame at approach distance, camera out of easy reach |
| Driveways and open yards | 9–12 ft (2.7–3.7 m) | wider overview of vehicles and movement without losing useful detail |
| Gates and fence lines | 8–10 ft (2.4–3 m) | clear view over the gate, hard to block or cover from outside |
| Second-floor eaves | 10–12 ft (3–3.7 m) | full-property overview, fully out of reach and weather-sheltered |
| Poles in open sites | 10–13 ft (3–4 m) | line of sight over vehicles and equipment; pair with a longer lens |
Note: These height ranges are general starting points, not fixed installation standards. Adjust the height based on the camera lens, viewing angle, mounting surface, and the area you need to cover.
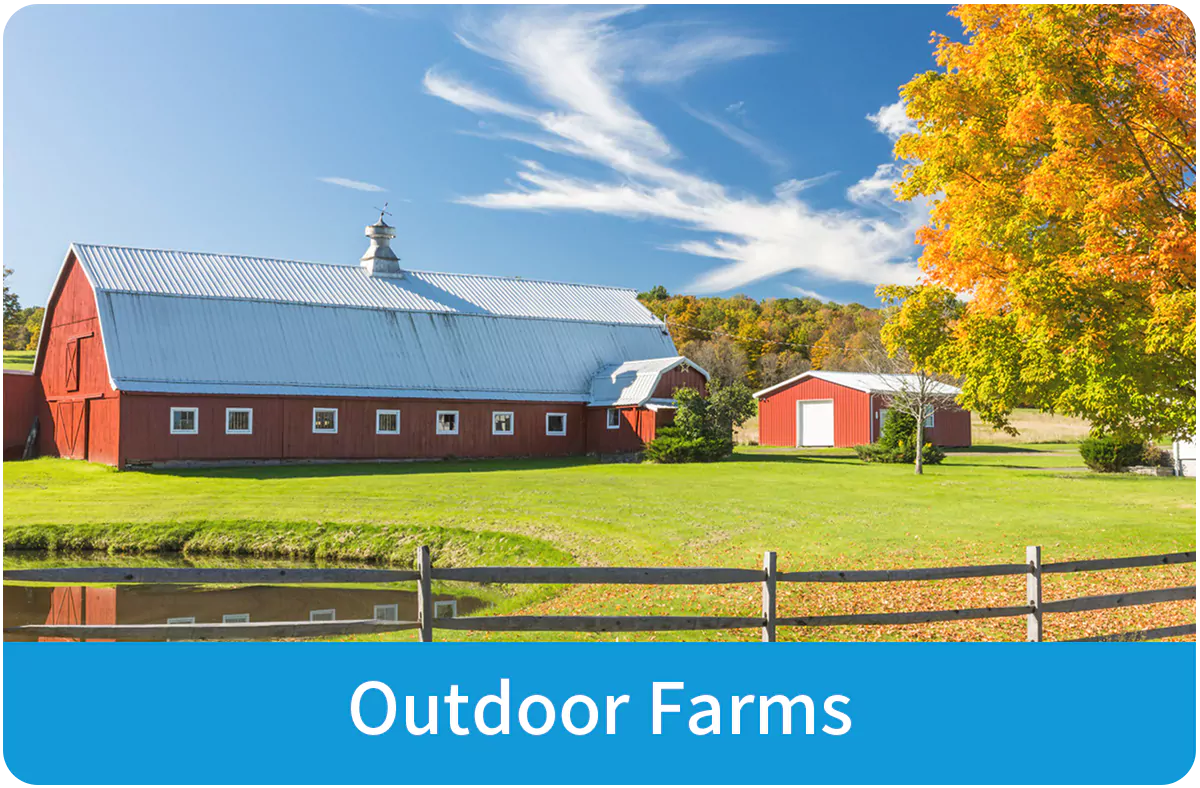
Open sites are the exception. On farms, construction sites, and storage yards, cameras ride on poles above equipment and truck traffic, and identification distance is recovered with a narrower lens instead of a lower mount — the pole-mounted installation guide covers that workflow in detail.
Where Should You Avoid Installing a Security Camera?
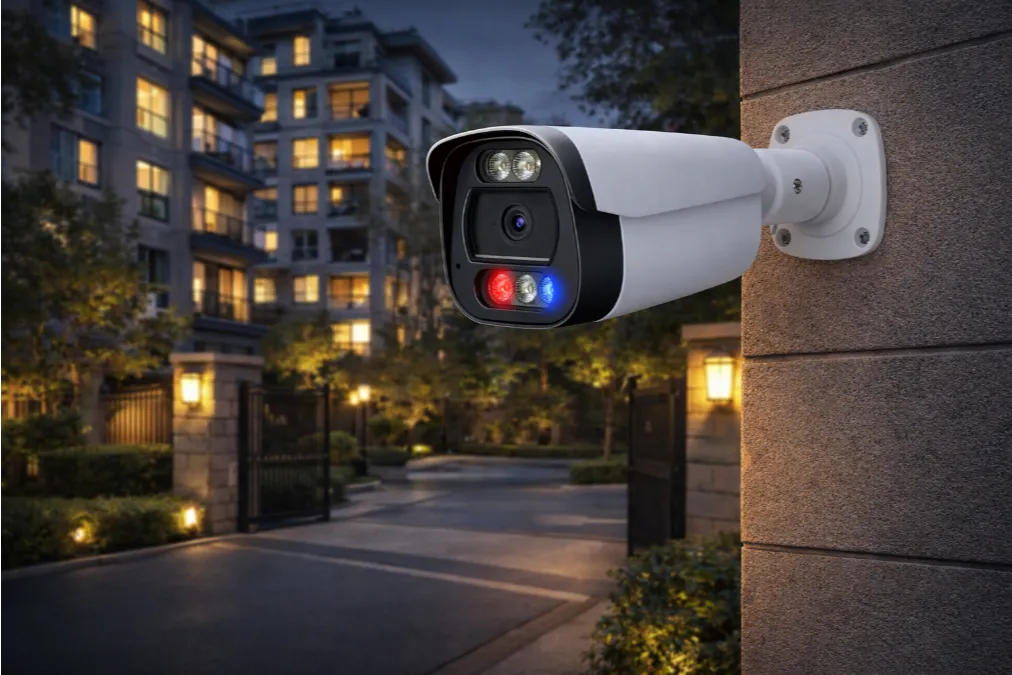
Poor camera locations often look fine during installation but create problems with glare, weather, visibility, privacy, or connectivity later.
Aimed at the sunrise, sunset, or a bright streetlight. Backlight turns every subject into a silhouette, and at night a single bright lamp in frame washes out everything around it. If the camera must face a light source, pick a model with wide dynamic range.
Directly under a roof drip line or inside a tree’s canopy. Running water, falling leaves, and swaying branches generate false alerts for weeks, and infrared light is a magnet for spiders — a web two inches from the lens triggers the motion sensor nightly. Mount a hand’s width outside the drip line, on a wall or post rather than a branch.
Pointed at a neighbor’s windows or private areas. Beyond the legal exposure in many regions, it poisons the relationship you may need when something actually happens. Frame your own property and let the edges of the frame be the edges of your land.
At chest or head height within reach. Low cameras get covered, turned, spray-painted, or stolen — a bracket at eye level is an invitation. Height is free tamper protection.
Facing a blank wall or a corner. Some installations end up watching three square meters of siding because the mounting point was convenient. Convenience of the cable run is never a reason for a camera position.
At the edge of the wireless range. A camera showing two signal bars during setup will drop offline when the network gets busy. Test the connection at the mounting point for a full day before committing.
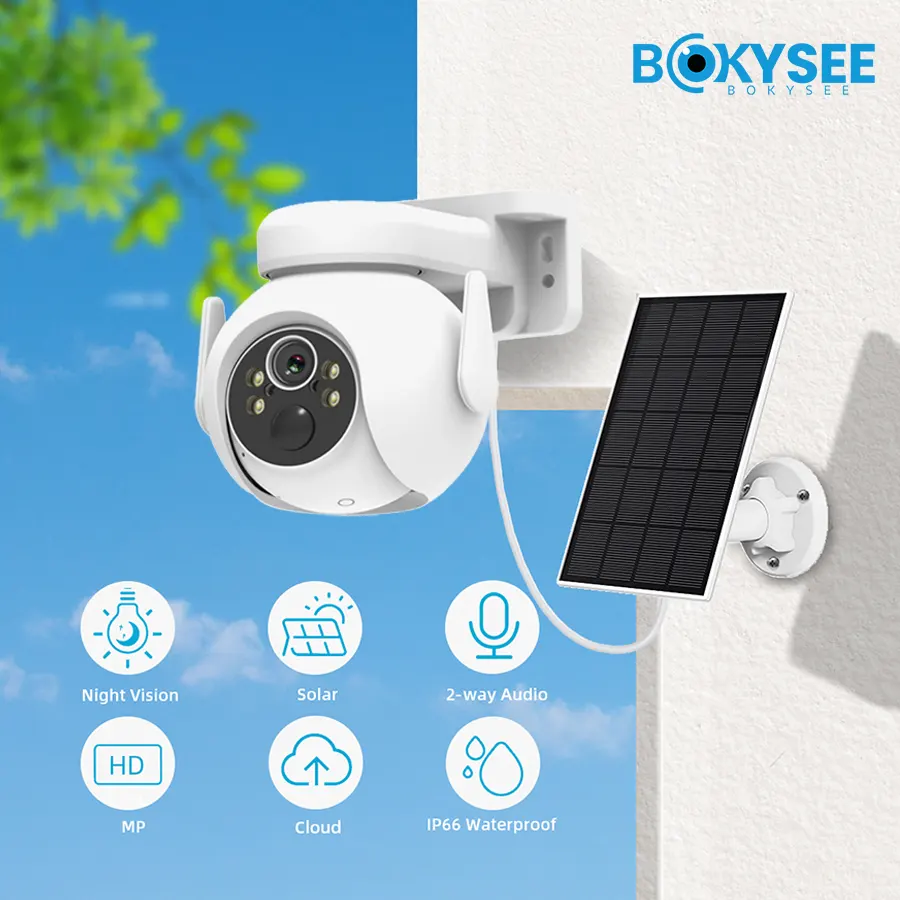
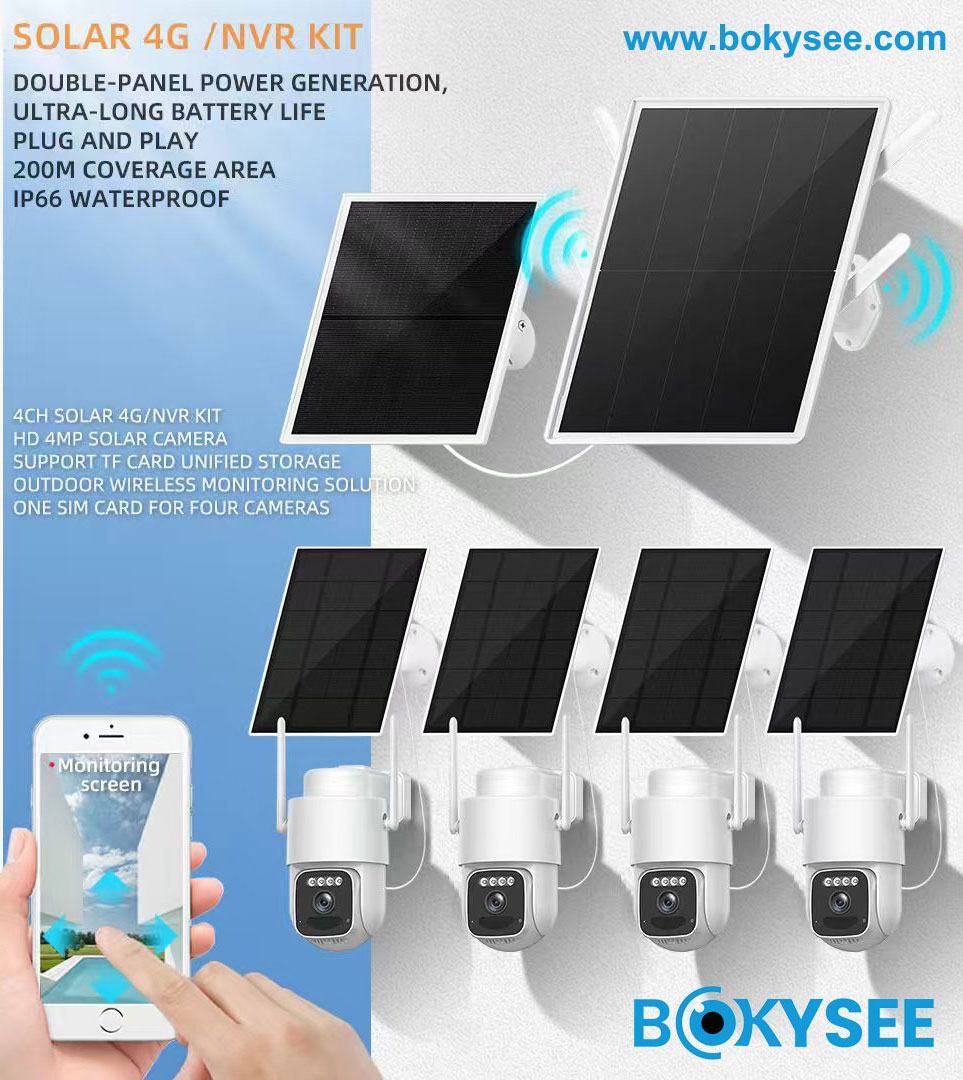
Planning camera coverage for a property, a project, or a full product line? Bokysee manufactures solar, 4G, and PTZ cameras built for fast outdoor deployment, and our team helps partners match the right model to every mounting point — with OEM and ODM support for your brand.
Explore OEM/ODM Solutions →How Do You Choose the Right Camera Angle?
An angle that shows a person’s whole body answers what happened; a tighter angle answers who did it.
Decide what each camera is for before touching the bracket. Identification angles look at doors and gates from 10 to 20 feet away with a slight downward tilt, so an approaching face crosses the center of the frame — the sharpest zone of any lens. Overview angles take the higher, wider view that maps movement across the whole yard.
Wide-angle lenses are tempting because one camera seems to cover everything. The trade-off hides at the edges: geometric distortion stretches faces, and a person at the far end of the frame shrinks to a handful of pixels. The reliable pattern is two layers — wide overview plus tight identification at the points that matter — rather than one heroic wide shot.
For plates and faces, aim into the direction of approach rather than across it. A camera facing an oncoming car reads the front of the vehicle; a camera filming the side of a passing car gets glare, motion blur, and nothing usable. And keep the lens away from ground-level flood lights that point back at it.
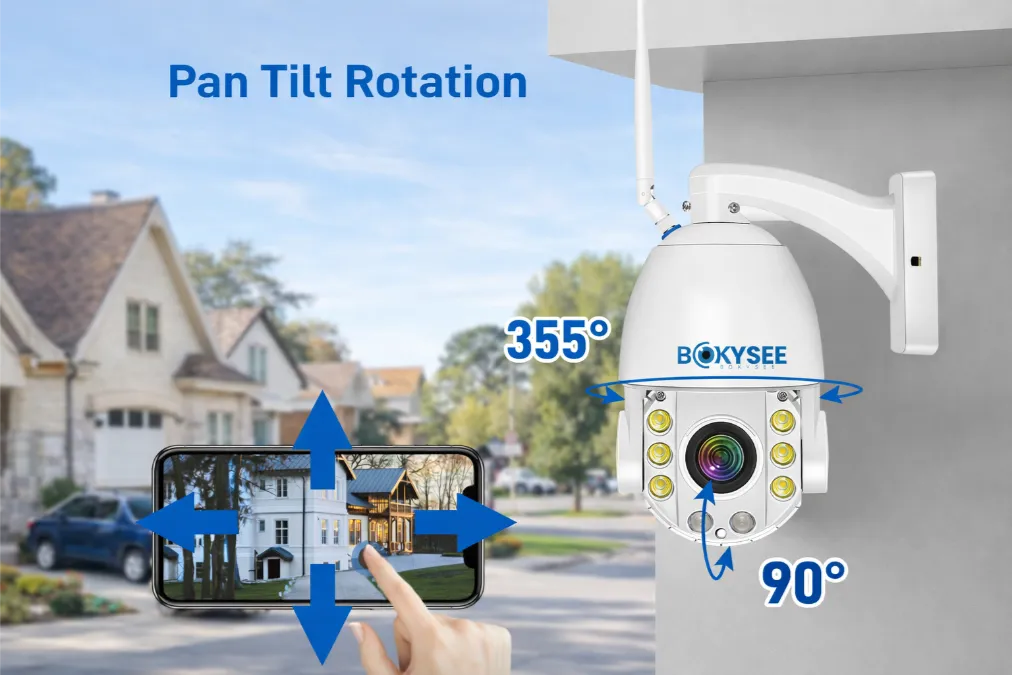
Large open areas — warehouse yards, farm perimeters, staging lots — outrun any fixed angle. That is where pan-tilt-zoom earns its cost: a PTZ camera can hold a default overview, then swing and zoom onto a moving target under автоматическое отслеживание, effectively running the overview and identification layers in one unit.
What Should You Check Before Installing an Outdoor Camera?
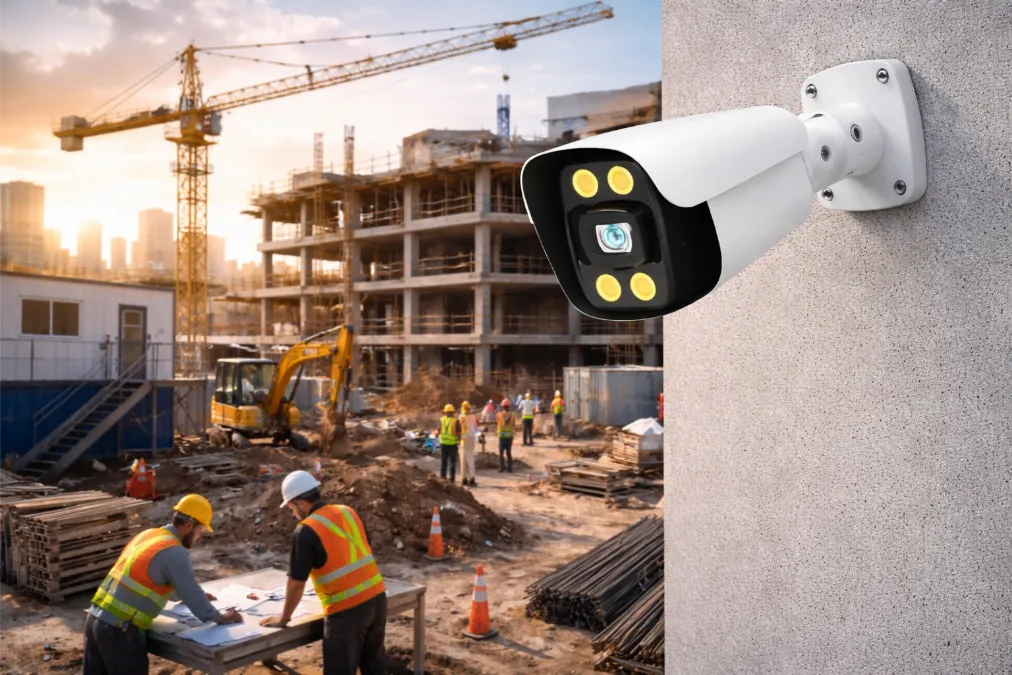
A fifteen-minute site check before drilling saves a weekend of re-mounting cameras after the first storm.
Run this list at the actual mounting point, at the actual hour the camera will work, and most installation regrets never happen:
- Check the night view in person. Infrared range, reflections from windows, and blind corners are invisible at 2 p.m. Stand where the camera will hang after dark and look.
- Test the signal at the bracket. Wi-Fi and 4G strength at the mounting point, measured over a few hours, beats the reading from the ground every time.
- Plan power and cable paths first. PoE runs, outlet distance, and solar panel orientation — with as little shading as possible — can determine which positions are practical.
- Walk the intrusion path. One person plays the visitor, walking from the street to each door; the other watches the live preview and confirms the subject stays identifiable, not just visible.
- Seal the entry points. Use the waterproof grommets, and leave a small downward loop in the cable so water drips off instead of following the line into the connector.
- Check local rules and HOA terms. Five minutes with the regulations beats a dispute later, especially for cameras that touch shared spaces or the street.
Frequently Asked Questions About Outdoor Camera Placement
How many outdoor security cameras does a house need?
Most detached homes get useful coverage with three to five cameras: front door, back door, driveway, and one wide backyard or side-yard view. Count entrances first and square footage second — a small house with four doors needs more cameras than a large one with two.
Should outdoor security cameras be visible?
Usually yes. A visible camera can make the coverage area clear while still providing useful footage. Keep it visible but mount it high enough that it cannot easily be reached, angled, or covered.
Can outdoor cameras be installed under an eave?
Yes, and an eave is often the best spot: it shields the camera from rain, snow, and direct sun, which extends the life of the lens and housing. Just check that the eave does not block the viewing angle or cause infrared reflection at night.
Should security cameras face the street?
Capturing part of the street in the frame is usually acceptable when the camera’s main target is your own property. Deliberately monitoring the street, sidewalks, or neighbors’ homes can raise privacy issues in some regions, so aim cameras at driveways, entrances, and yards rather than public space.
How far can an outdoor security camera see?
With a typical wide-angle lens, a person is recognizable at roughly 15 to 30 feet and detectable much farther. Longer lenses and higher resolution push identification distance out but narrow the field of view, which is why entrance cameras and overview cameras are usually separate units.
Can outdoor security cameras be installed near a neighbor’s property?
A camera installed on your property may still capture part of a neighboring area, depending on its viewing angle and local rules. Avoid deliberately pointing it at a neighbor’s windows, doors, or private areas, and check the privacy requirements that apply in your location.
Заключительные мысли
Good placement can make a major difference to the footage a security camera produces. Check the entrances, approach paths, lighting, signal, and viewing angle before fixing each camera in place. For businesses, distributors, and project buyers looking for outdoor security camera solutions, Бокизее also provides solar, 4G, and PTZ camera options with OEM and ODM support.







 Russian
  English
  Spanish