Selecting the best solar wireless security camera prevents costly project downtime. A system with mismatched panel efficiency or inadequate battery capacity will fail during overcast periods, creating security gaps that expose assets to theft and vandalism.
This analysis benchmarks systems on the metrics that define operational autonomy. We evaluate solar conversion efficiency slices, battery sizing for multi-day cloud cover, and firmware power-saving code to identify cameras that deliver reliable, maintenance-free site surveillance.
Outdoor Project Surveillance Requirements

Effective project surveillance relies on self-sufficient, rugged cameras that deploy quickly without needing power or data cables, offering clear evidence and active deterrence on evolving sites.
Core Technical and Hardware Specifications
For any outdoor project, from a construction site to remote infrastructure, the surveillance hardware has to stand on its own. Digging trenches or running cables is a non-starter for most temporary or hard-to-reach locations. This creates a clear set of non-negotiable technical requirements.
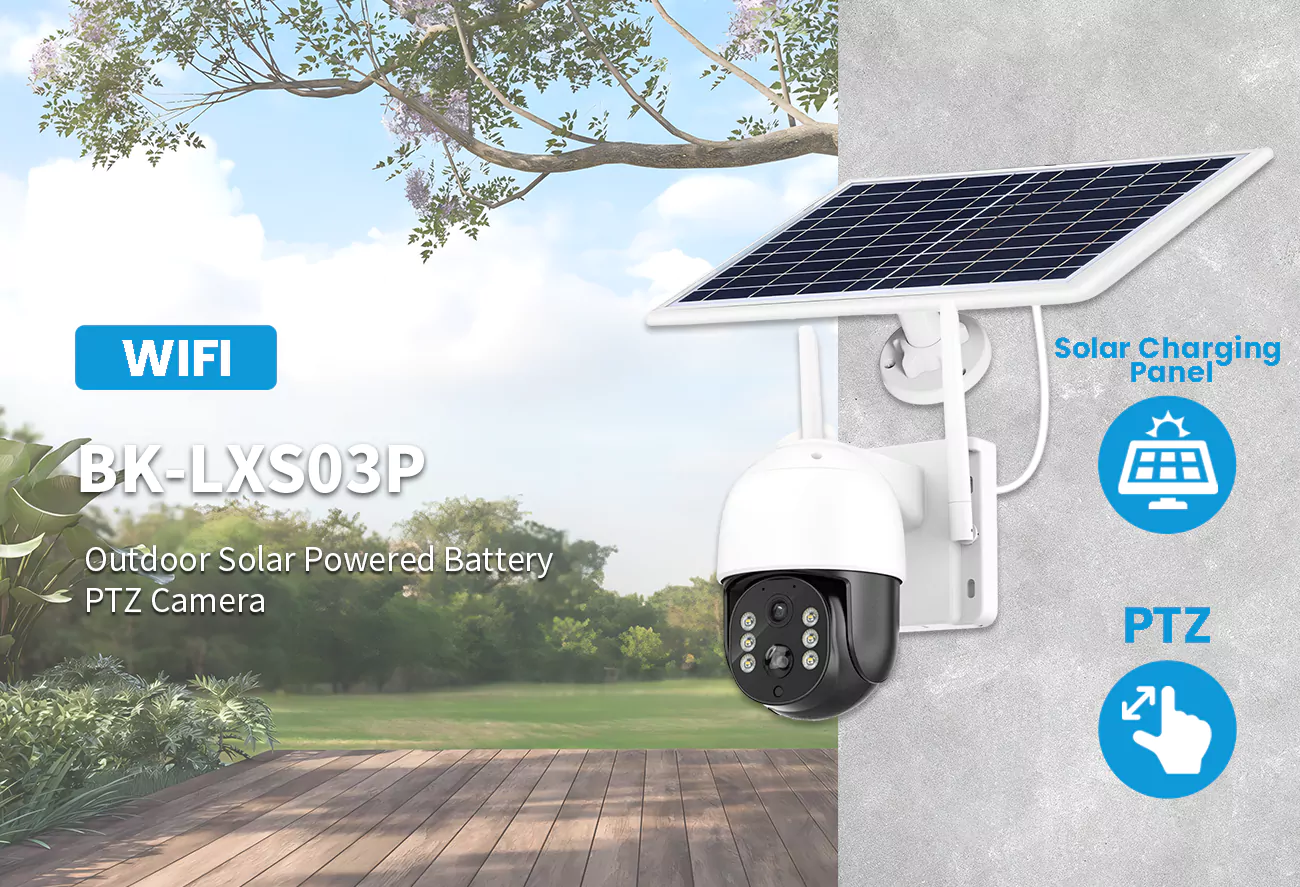
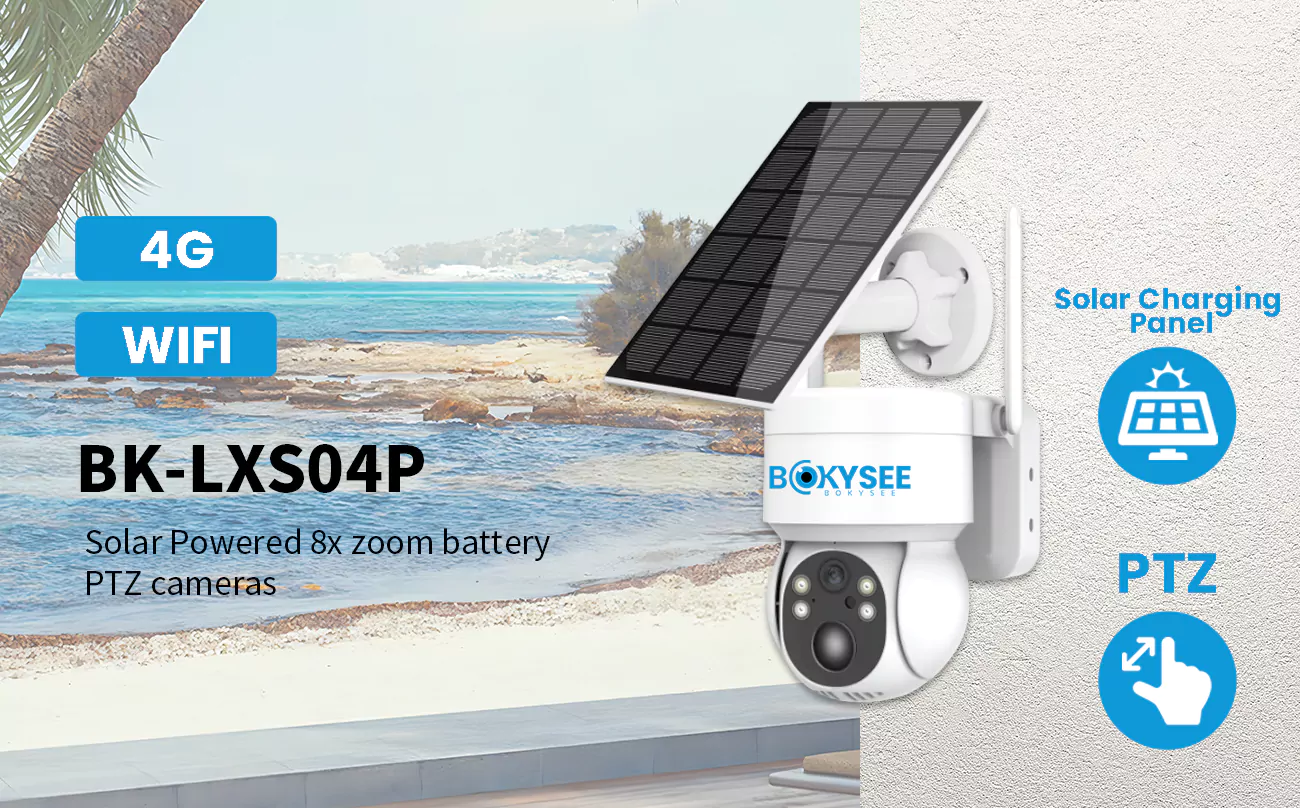
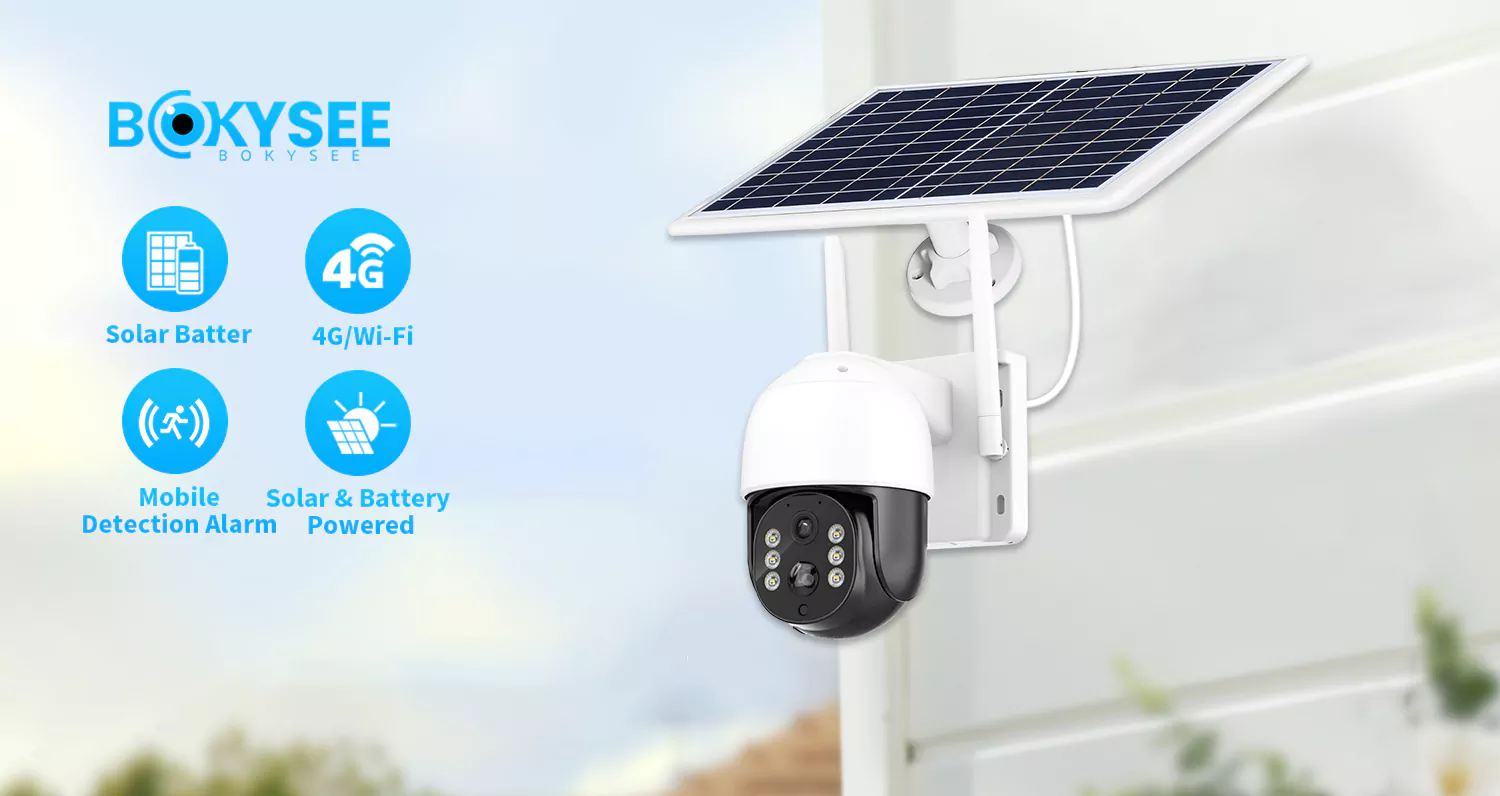
- Truly Wire-Free Operation: The system must be fully autonomous, pairing solar panels with either 4G/LTE or Wi-Fi connectivity. This eliminates the need for any physical cabling for power or data, allowing placement almost anywhere.
- Rugged Weatherproofing: Equipment needs a minimum of an IP65 rating. This ensures it’s protected against the dust, driving rain, and temperature swings common on exposed project sites. Anything less is a liability.
- Power Autonomy: The integrated battery has to be large enough to power the camera for several days without sun. This ensures continuous operation through stretches of overcast or stormy weather, which is when incidents are more likely to occur.
- On-Device AI Detection: To be effective, the system must use on-board AI to distinguish between people and vehicles versus irrelevant motion like swaying trees or animals. This cuts down on false alerts that waste time and resources.
Operational and Management Needs
Beyond the hardware specs, the system must be practical to manage and use in a dynamic project environment. The focus is on rapid deployment, remote control, and features that actually prevent incidents, not just record them.
- Rapid and Flexible Deployment: Cameras must be designed for fast installation and relocation. This means having flexible mounting hardware for poles, fences, or other temporary structures, allowing the security layout to adapt as the project site changes.
- Full Remote Access: Site managers and security personnel need to access live video, change settings, and receive instant alerts directly through a mobile app. The system must be fully controllable from anywhere with a data connection.
- Active Deterrence Capabilities: Passive recording isn’t enough. The cameras should feature active deterrents like a built-in siren, a motion-activated spotlight, or two-way audio to directly challenge and scare off trespassers in real time.
Evaluating Solar Conversion Efficiency Slices
An efficiency slice shows if your solar camera will run maintenance-free or need constant charging. It’s the balance between sun exposure, camera usage, and battery size.
The performance of a solar-powered camera isn’t just about the panel’s wattage. It’s about where it lands in one of four operational “slices.” This framework helps predict whether a system will be truly autonomous or a constant headache.
These slices define the real-world outcome of your setup.
- Low Slice: The daily energy harvest is less than the camera’s consumption. This leads to a net battery drain that requires you to manually charge the device.
- Moderate Slice: Solar input covers light to moderate camera activity. Maintenance-free operation is possible, but only with conservative settings.
- High Slice: The panel generates enough power for continuous operation under normal weather and typical motion loads. This is the target for a reliable setup.
- Very High Slice: A significant energy surplus keeps the battery full. This supports heavy feature use and allows the camera to endure long periods of low sunlight.
Power Your Brand with OEM/ODM Cameras
Sizing Battery Capacity for Extended Clouds
Battery sizing boils down to camera consumption, required cloudy days of uptime, and a safety buffer. Get any of these wrong, and your system will fail when you need it.
| Use Case / Autonomy Goal | Recommended Capacity (mAh) |
|---|---|
| Low-Duty Residential (1–2 days) | 5,000–10,000 |
| Standard Residential/Small Business (2–3 days) | 10,000–20,000 |
| High-Activity or Critical Monitoring (3–5+ days) | 20,000+ |
Core Sizing Method and Key Variables
The right way to size a battery starts with a worst-case analysis. First, calculate the camera’s maximum daily energy use, factoring in continuous vs. motion recording, night vision operation, and video settings. Then, based on your local weather patterns, decide how many days of autonomy you need to survive without sun—two or three days is standard, but critical applications in cloudy areas demand five or more. Multiply the daily consumption by your autonomy target, and then multiply that result by a safety factor of 1.5x to 2x. This final number accounts for battery aging and performance drops in extreme temperatures.
Wireless Protocol Ranges and Signal Obstructions
A camera’s wireless range depends entirely on its protocol—Wi-Fi is short, proprietary RF is longer, and cellular is nearly limitless. Metal and concrete are your biggest signal killers.
Comparing Wireless Ranges by Protocol
The technology a camera uses to communicate dictates its effective range. There are three main types, each with a completely different performance profile.
- Wi-Fi (2.4 GHz / 5 GHz): Most solar cameras connect to a standard home router. Expect 150–300 feet of range in open areas. The 2.4 GHz band penetrates walls better, while 5 GHz offers more speed over shorter distances with fewer obstacles.
- Proprietary Sub-GHz RF: Systems with a dedicated base station can achieve much longer ranges, often between 500 and 2,000 feet. These lower radio frequencies are far better at pushing through trees and non-metal structures than Wi-Fi.
- Cellular (4G/5G): A cellular camera’s range is only limited by its carrier’s network. It can work miles away from your location, making it the only real choice for remote properties without local internet.
Common Signal Obstructions and Mitigation
Wireless signals don’t travel through everything equally. Physical obstacles are the primary cause of poor performance and connection drops.
- Building Materials: Signals weaken significantly when passing through solid objects. Metal and concrete are the worst offenders, capable of blocking over 70% of the signal. Wood and drywall have a much smaller impact. Always try to mount cameras with a clear line of sight to the router or base station.
- Environmental Factors: Dense trees, heavy foliage, and hills absorb and scatter wireless signals, which reduces the effective range. Elevating the camera and its receiving antenna can help overcome ground-level interference.
Optical Performance and Lux Rating Verification
Real-world optical quality isn’t just about resolution. It’s about how the lens, sensor, and processing work together to deliver a usable image in difficult lighting conditions.
When evaluating a solar-powered camera, its optical performance is what separates a useful security tool from an expensive garden ornament. The spec sheet might boast about 4K resolution, but that number is meaningless if the lens is poor or the sensor can’t handle low light. Verifying manufacturer claims, especially for lux ratings, requires a look at both the hardware components and the methods used to test them.
Key Factors in Optical Quality
The final image quality is a product of several interacting components. No single feature can compensate for a weakness in another, especially in a power-constrained solar device.
- Lens Aperture and Sensor Size: These two factors determine how much light the camera can physically capture. A lower F-number (like F1.6) means a wider aperture, letting in more light. Paired with a larger sensor (e.g., 1/2.8″ vs. 1/3″), the camera’s sensitivity in low-light conditions improves dramatically, reducing the need for power-hungry IR LEDs.
- Dynamic Range (WDR/HDR): Outdoor scenes are full of contrast—bright sun and deep shadows. Wide Dynamic Range (WDR) or High Dynamic Range (HDR) processing is non-negotiable for ensuring subjects aren’t blown out in sunlight or lost in the shadows. Without it, a person standing in a shaded doorway could be completely invisible.
Methods for Verifying Low-Light Claims
Manufacturer lux ratings are often optimistic. Proper verification relies on a mix of controlled testing and real-world validation to see if the claims hold up.
- Controlled Lab Tests: The objective way to measure performance is in a lab. Using calibrated, dimmable light sources and a lux meter, you can pinpoint the exact light level where a camera’s image becomes unusable. Testing against standardized resolution and color charts reveals the true threshold for detail recognition, separate from marketing hype.
- Real-World Field Tests: A lab test tells you the “what,” but a field test tells you the “so what.” Placing the camera in a real driveway or backyard assesses its practical ability to identify faces and license plates under actual night-time conditions, including ambient street lighting and headlight glare. This confirms if the lab performance translates to useful evidence.
- Solar-Specific Battery Checks: For solar cameras, low-light verification isn’t complete without checking performance at different battery levels. Some models are programmed to conserve energy by reducing IR LED power, lowering the frame rate, or increasing noise reduction when the battery is low.
Weatherproof Ingress Housing Selection Rules
A housing’s IP rating, UV-stable materials, and proper installation are non-negotiable. Get these wrong, and your outdoor camera will fail from water, dust, or sun damage.
Core Enclosure Specifications: IP Rating, Materials, and Thermal Design
The physical shell of the camera is its first and most important line of defense. If the enclosure can’t handle the environment, nothing else matters.
- Target an IP66 or IP67 rating for solid protection against dust and heavy rain. IP65 is the absolute minimum, and only for sheltered spots.
- Select housings made from UV-stabilized materials like polycarbonate or ASA plastic. For metal, use corrosion-resistant options like coated aluminum.
- Check that all seams use continuous gaskets made of durable, outdoor-rated materials like silicone or EPDM to ensure a long-term seal.
Installation and System Interface Rules
A great housing installed poorly is just as bad as a cheap housing. The details of how the camera is mounted, wired, and positioned are critical for long-term survival.
- The housing must not block wireless signals. This usually means using RF-transparent polymers instead of an all-metal design that acts like a cage.
- The connection point between a remote solar panel and the camera must be fully weatherproofed to match the camera’s own IP rating.
- Install the camera exactly as the manufacturer specifies. Many designs rely on a specific orientation to shed water properly from seals and vents.
Firmware Power-Saving Standby Code Optimization

Optimizing firmware for the lowest possible standby current is what separates a reliable solar camera from one that dies in winter. This directly determines battery survival during low-sun periods.
Core Strategies for Reducing Standby Power
For a solar-powered camera, the game is won or lost in standby mode, since it spends most of its time waiting. The biggest gains come from an event-driven design that keeps the processor asleep as long as possible. The goal is to aggressively shut down every non-essential component and eliminate polling loops in favor of hardware interrupts.
- Shut down peripherals: Power off the image sensor, IR LEDs, encoders, and SD card writers completely during deep sleep. Nothing stays on unless it’s essential for waking the device.
- Use low-power sensors to gate the main SoC: Rely on a low-current PIR or motion detector to trigger a wake-up event for the main power-hungry imaging pipeline. This avoids continuous image processing.
- Implement radio duty cycling: Keep the Wi-Fi or cellular radio off except for brief, scheduled check-ins or when an event requires an upload. Batching uploads into short bursts minimizes radio-on time.
Key Metrics and Validation for Power Optimization
You can’t optimize what you don’t measure. Engineering teams must profile current draw in every single state to find hidden power leaks. The difference between a few microamps and a few milliamps in sleep mode determines whether the camera lasts three days or three weeks without sun.
A solid validation plan goes beyond the lab bench. It simulates real-world failure conditions, like repeated cloudy days and winter cold, to see where the firmware breaks.
- Sleep current: The most critical metric. This should be measured in deep standby with a high-precision power analyzer.
- Wake-to-capture latency: The time it takes from a PIR trigger to the first frame of video. Aggressive sleep can’t come at the cost of missing the event.
- Energy per recorded event: The total energy consumed to wake, capture, process, and transmit a typical motion event. This helps model battery life under different activity levels.
- Standby autonomy: The number of days the camera can last on a full battery with zero solar input. This is a direct test of the standby code’s efficiency.
- Cold-weather testing: Validation must include running the system in a thermal chamber to test battery performance and charging logic at freezing temperatures, where solar harvest is already low.
OEM Mass Production Quality Inspection Methods
Reliable mass production isn’t about one final check. It’s a series of targeted inspections from raw components to batch-level stress testing that ensures long-term outdoor performance.
Key Stages of Production Line Inspection
Quality control is integrated directly into the assembly line, not just tacked on at the end. We break it down into three distinct phases to catch issues early and ensure every unit meets spec.
- Incoming Quality Control (IQC): We verify critical components before they even enter the assembly line. This includes testing solar panels for power output, checking battery capacity and protection circuits, and inspecting image sensors and housings for defects.
- In-Process Quality Control (IPQC): We conduct multiple checks during assembly. Key steps include running functional tests on the PCBA, performing automated lens-to-sensor alignment for sharpness, and verifying the correct application of waterproofing seals and gaskets.
- Final Quality Control (FQC): Every single finished camera goes through a 100% functional test. This isn’t a spot check. We simulate solar charging, confirm app connectivity and video streaming stability, and validate motion detection performance before a unit is cleared for packing.
Batch-Based Reliability and Compliance Testing
Beyond individual unit testing, we pull samples from every production batch for a round of destructive and long-duration testing. This validates the long-term durability of the design and manufacturing process.
- Environmental Reliability: Sample units are subjected to accelerated aging tests. We run them through thermal cycling chambers, high humidity, prolonged UV exposure, and the full IP rating protocol to simulate years of harsh outdoor conditions.
- Power System Durability: We perform long-term battery charge and discharge cycle tests to validate the advertised lifespan. We also run repeated power cycling tests to ensure the firmware remains robust and doesn’t corrupt the file system.
- Compliance and Certification: We verify that each batch adheres to all required regional standards. This covers everything from RF emissions and wireless performance to battery transportation safety (UN38.3) and specific regulations for outdoor electronics.
Preguntas frecuentes
What is a solar-powered wireless security camera and how does it work?
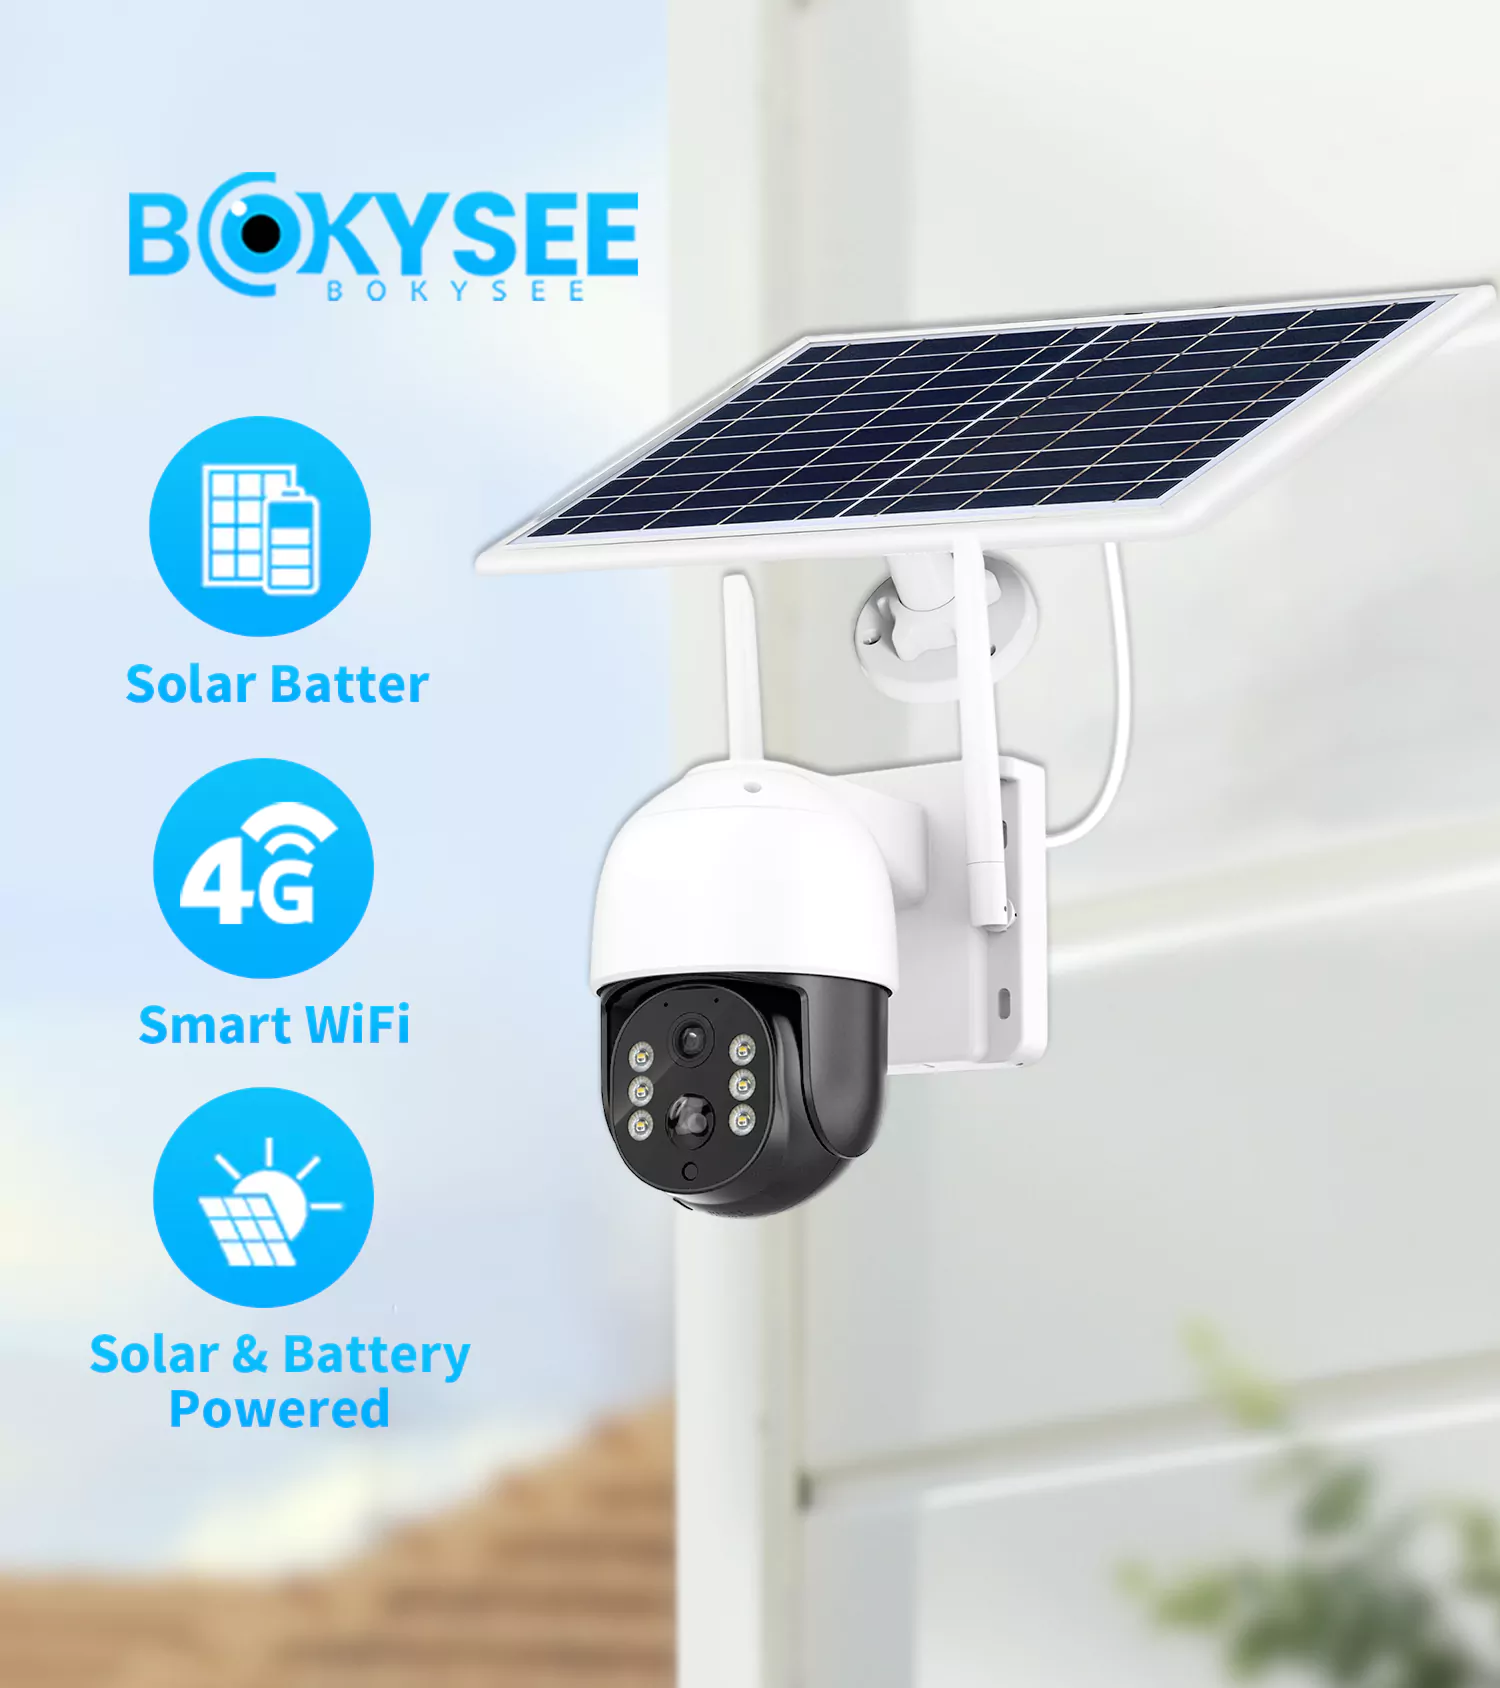
A solar-powered wireless security camera is a standalone outdoor camera that uses a small solar panel to charge its internal battery. It sends video and alerts over a Wi-Fi network, so it doesn’t need power cords or data cables for installation. During the day, the solar panel gathers sunlight to power the camera and top up the battery. At night or on cloudy days, the camera runs on stored battery power. This design allows for flexible placement in areas that are difficult to wire, like gardens, remote gates, or construction sites.
Do solar wireless security cameras need direct sunlight all day to charge?
No, they don’t need sunlight all day. Most models work well with about two to four hours of direct, peak sunlight daily to keep the battery charged for 24/7 operation. The battery stores this energy to power the camera overnight and through cloudy weather. While the panel can generate some power from indirect light, it is much less efficient, so placing the panel for a few hours of unobstructed sun is best for consistent performance.
How many continuous recording days can a solar battery backup hold?
This depends on whether the camera is getting any sunlight. With just a few hours of direct sun each day, a well-designed camera can record continuously without a time limit, as the panel recharges the battery daily. If there is no sun at all, like during a long storm, a camera with a large battery can typically sustain 24/7 recording for about 8 to 14 days on its own. Models with smaller batteries might last between two and seven days on a full charge.
What resolution is required for clear outdoor security identification?
For clear outdoor identification, 1080p (2MP) resolution is a good starting point for close-up areas like a front door, letting you recognize faces within about 20 feet. For a typical yard or driveway, a 2K (4MP) camera provides better detail for identifying people or license plates up to 40 feet away. If you need to monitor a large area or identify details at a greater distance (over 50 feet), a 4K (8MP) camera is the best choice. Lighting and night vision quality also play a large role in image clarity.
Can solar outdoor security cameras work reliably during freezing winter months?
Yes, many solar security cameras can work reliably in freezing weather, but success depends on the model and setup. You should look for cameras with an operating temperature rating that matches your climate. The main challenges in winter are shorter daylight hours and potential snow cover on the panel, which reduce charging time. Batteries also perform less efficiently in the cold. For reliable winter use, choose a model with a large battery and position the solar panel at a steep angle to catch the low sun and help shed snow.
Are solar powered wireless security cameras worth it for commercial projects?
Yes, they can be very effective for specific commercial uses. They are ideal for securing remote or off-grid locations like construction sites, farms, or large parking lots where running power and network cables is too expensive or difficult. Because they are quick to install and relocate, they also work well for temporary projects. They are not a complete replacement for traditional wired systems in high-density or mission-critical areas, as their performance relies on sunlight and wireless signal strength.
Reflexiones finales
While generic solar cameras offer lower upfront costs, they introduce unacceptable risk. The engineering standards for power autonomy, verified optics, and weatherproof integrity outlined here are the only way to safeguard your projects against critical system failure and liability. Your reputation depends on hardware that works through the storm, not just on a sunny day.
En Bokysee, we specialize in high-performance solar-powered security camera solutions for OEM, ODM, and commercial surveillance projects. Contáctanos hoy to discuss your project requirements, request product recommendations, or explore customized wholesale solutions that match your business needs.