Skip to content

Proper CCTV camera installation involves more than mounting cameras on a wall. A useful system needs suitable camera positions, compatible recording equipment, reliable cabling and power, and recording settings that match the site’s requirements.
This guide explains how to plan, install and test a CCTV camera system, from choosing compatible equipment and routing cables to configuring recording and checking playback. It covers wired IP and analog HD installations, with practical checks for installers, project buyers and property owners.
What Do You Need Before Installing a CCTV Camera System?
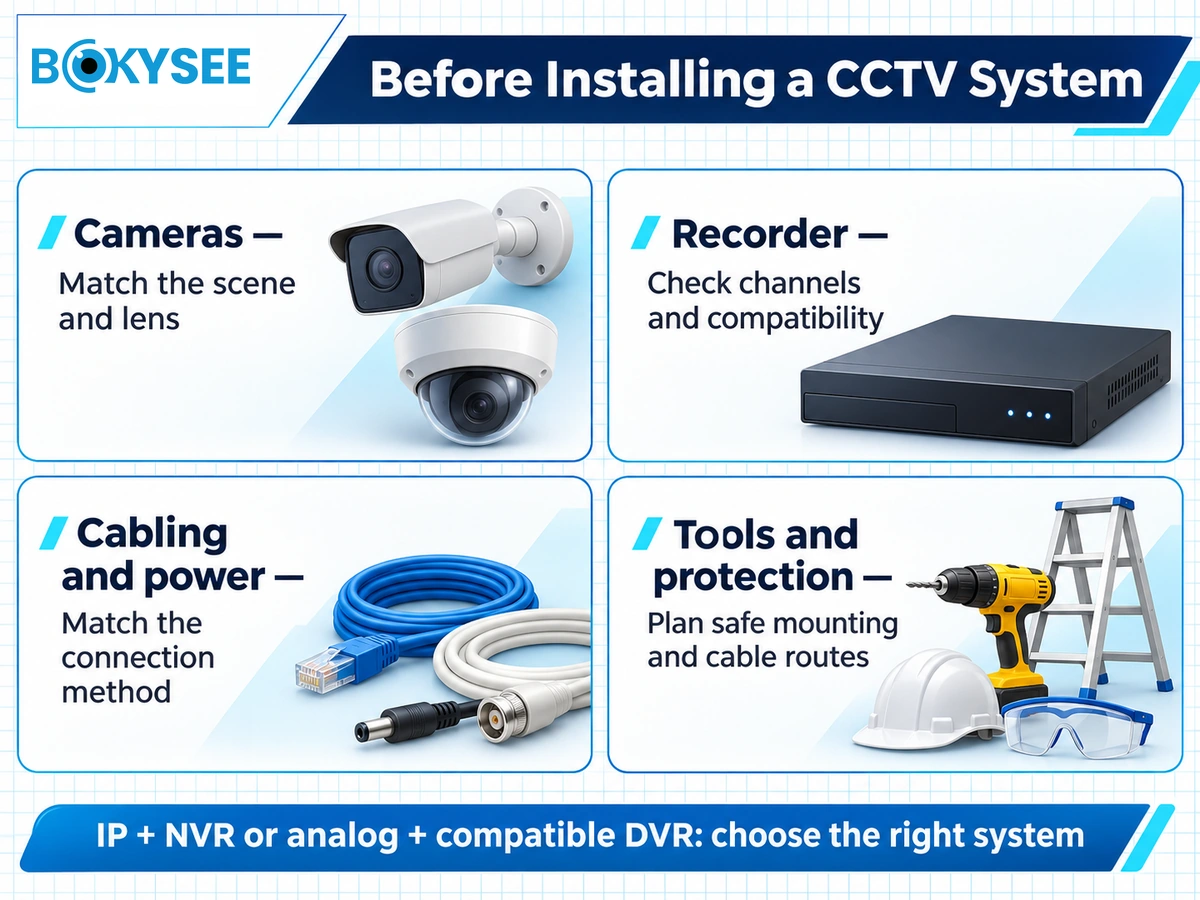
Start with a site survey and an equipment list. Confirm the monitoring areas, recording requirements and connection method before ordering equipment or drilling mounting holes.
Choose the Right CCTV Camera Type
IP cameras transmit video over a network. Analog HD cameras commonly send video over coaxial cable to a compatible DVR. Select the recording path before choosing cables and accessories.
Dome and bullet cameras are available for different indoor and outdoor applications. Select the exact model according to its environmental ratings, mounting design, lens and required coverage.
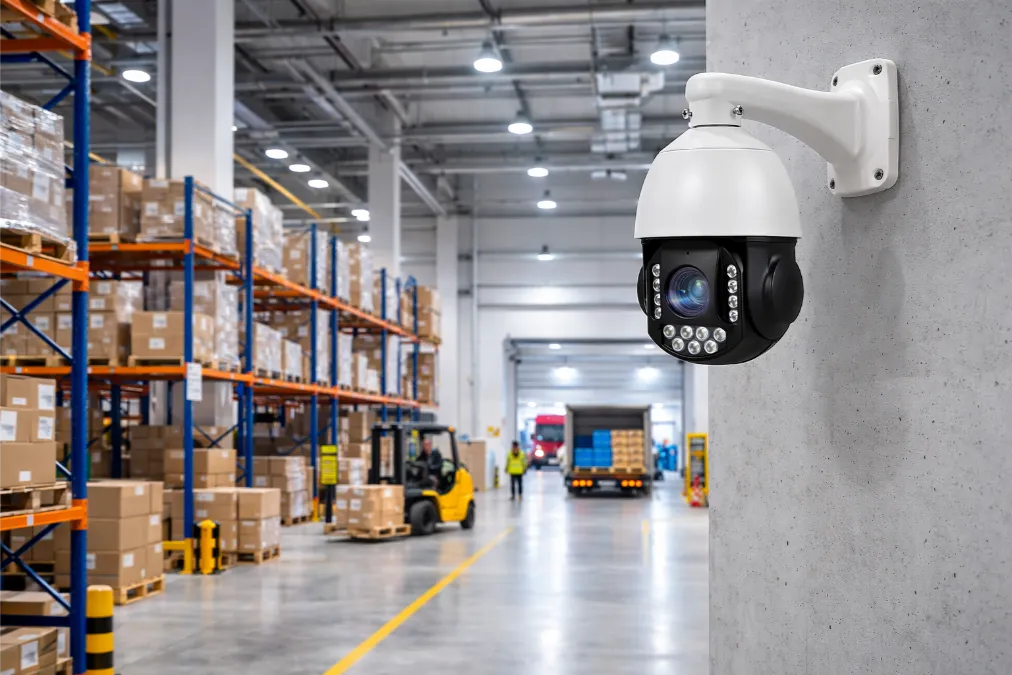
PTZ cameras can change their viewing direction and zoom, but a single PTZ does not observe every direction simultaneously. Use fixed cameras where continuous coverage of a specific area is required.
PoE is a power-delivery method used by compatible IP cameras. WiFi cameras can reduce data cabling, but many still require a separate power connection. Confirm the selected model’s power and recording requirements.
Select Compatible Recording Equipment
Use an NVR or another supported recording platform for IP cameras, and a compatible DVR for an analog HD system. Check camera quantity, supported video formats, recording resolution, incoming bandwidth, storage limits and required functions.
Before ordering, use our ONVIF IP camera compatibility checklist to confirm the required functions with the intended recorder. A working live view alone does not prove that audio, event recording and playback will work as required.
Prepare Cables, Power Supplies and Accessories
Prepare Ethernet cables for the planned wired IP connections or compatible coaxial cables and terminations for the analog system. Select power supplies, PoE equipment, mounting hardware, junction boxes and cable protection to suit the actual devices and installation environment.
Do not treat Ethernet cables, coaxial cables, BNC connectors and separate power supplies as a universal shopping list. Each item must match the chosen system.
Check Tools and Bench-Test the Equipment
Typical tools include a drill, suitable bits, screwdrivers, a tape measure, cable labels, a cable tester and appropriate access and protective equipment. Check the mounting surfaces, cable routes and available power.
Before permanent installation, bench-test the intended camera and recorder combination with a short, known-good cable and a compatible power source. Confirm activation, live video, recording, playback and any required audio or event functions. Record the tested model and firmware versions before equipment is installed on site.
Plan Camera Placement Before Installation
Plan coverage around the required targets and check for remaining blind spots in recorded footage. A wide view is useful for an overview, but it may not provide enough detail to identify a person or read a vehicle registration plate.
Identify Critical Monitoring Areas
Mark entrances, exits, reception areas, corridors, parking areas, warehouses and loading docks on a floor plan. Identify what each camera needs to show and where the target is likely to move.
Avoid using camera positions simply because mounting or power is convenient. Check whether the resulting view supports the intended monitoring task.
Determine Height, Angle and Field of View
Choose the mounting height and angle according to the lens, target distance and surroundings. A camera mounted too high may show movement while missing facial detail. A low position may increase the risk of obstruction or tampering.
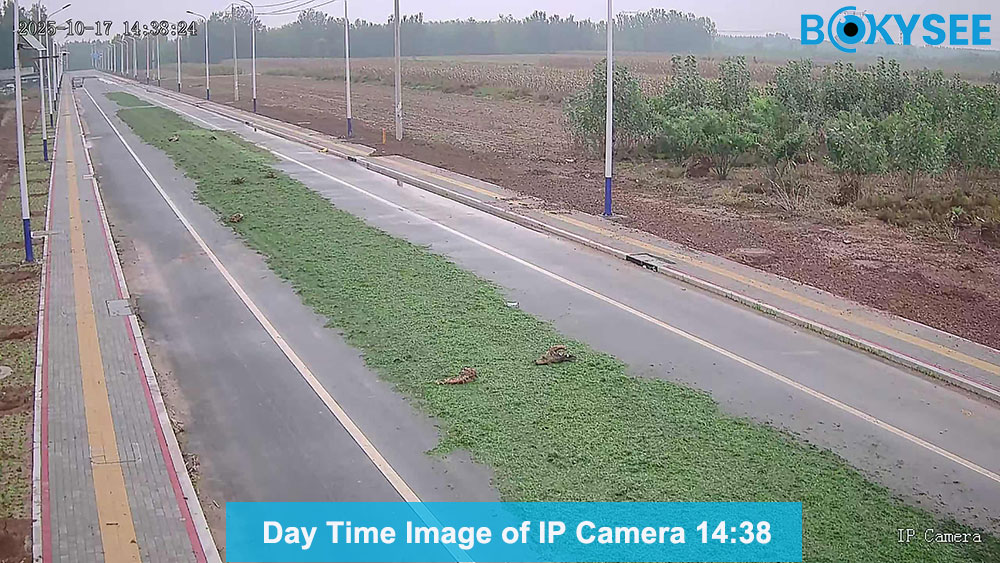
Temporarily check the view at the intended position. Assess the target in recorded footage rather than relying only on a wide live-view image.
Assess Lighting and Night Vision
Consider direct sunlight, shadows, bright entrances and changes in artificial lighting. Strong backlighting can obscure a person’s features.
At night, built-in IR illumination may reflect from nearby walls, windows or the camera cover. Check recorded footage with night illumination active and adjust the installation if reflections obscure the target. Include moving subjects in the test.
Plan Outdoor Protection and Cable Routes
For outdoor CCTV camera installation, check the exact model’s environmental ratings and installation instructions. Protect connectors with suitable fittings and junction boxes, and use outdoor-rated cable or appropriate protective conduit.
Map the recorder, switches and cable routes. Measure the actual route, including rises, bends and termination allowances. Check the supported link distance and power-delivery requirements instead of assuming every route will work. Test WiFi coverage at the intended mounting position if wireless cameras are included.
How to Install CCTV Cameras Step by Step
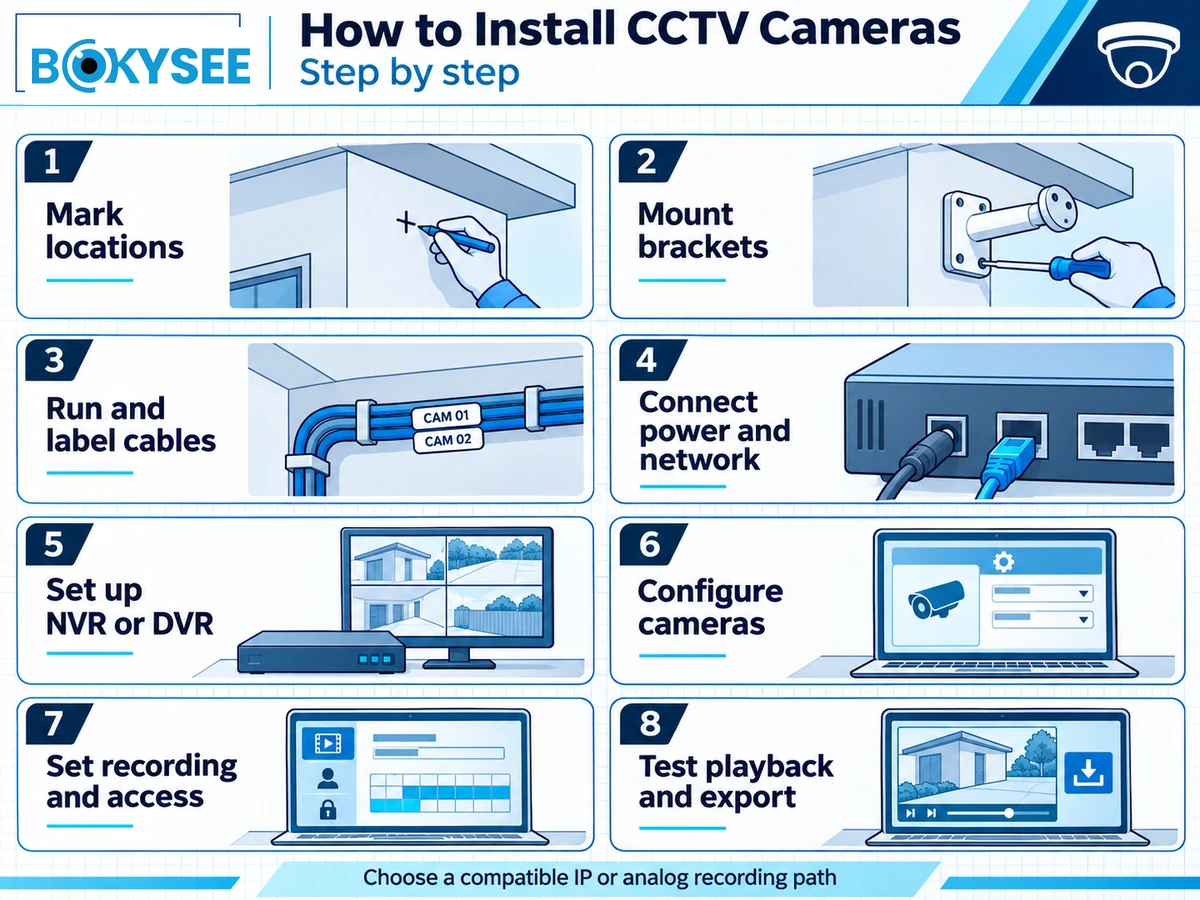
Follow the equipment manuals and the planned recording path. Complete the steps below for each camera, then verify the system as a whole.
Step 1: Mark Camera Mounting Locations
Temporarily position each camera and check its live view before marking the mounting holes. Confirm the target area, mounting surface and cable entry before drilling.
Check that doors, signs, shelving and other objects will not obstruct the view. Make sure the mounting surface can support the equipment.
Step 2: Mount the Camera Bracket
Check for concealed wiring and pipes before drilling. Use anchors, screws and brackets suitable for the wall or ceiling material and follow the manufacturer’s mounting instructions.
Secure the bracket and camera, leaving the final aiming adjustment until the view has been tested. Use qualified assistance where electrical work, difficult access or structural uncertainty requires it.
Step 3: Run CCTV Wiring and Network Cables
Route the specified Ethernet or coaxial cables through suitable pathways and protection. Label both ends so each cable can be matched to its camera and recorder channel.
Protect cables from damage and keep connectors clean and dry. Follow the cable manufacturer’s requirements for routing, bend radius and termination, as well as the equipment’s supported distance limits.
Step 4: Connect Cameras to Power and Network
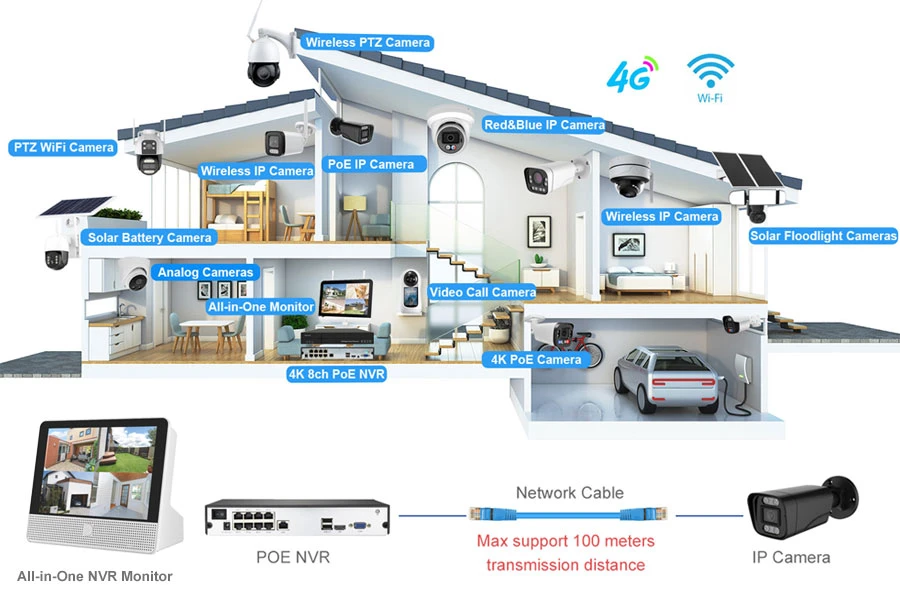
A PoE camera receives power and sends video data over the same Ethernet cable. Connect it to a compatible PoE switch, injector or NVR PoE port. Check the camera’s required PoE standard, the power available at each port and the source’s total PoE budget.
Use our PoE switch power budget and bandwidth guide to check port availability, per-port power, total power and uplink capacity.
For a separately powered IP camera, connect the network cable and the power source specified for that model. Analog cameras need a compatible video connection and suitable power, as described in the next step.
Step 5: Connect and Configure the NVR or DVR
Place the recorder in a secure, ventilated location. Install a supported drive according to the manufacturer’s instructions. If local setup is supported, connect a monitor and mouse.
For an IP system, cameras may connect directly to the NVR’s integrated PoE ports or through an external switch to the recorder’s LAN connection. Follow the recorder’s network design; its integrated PoE ports may use a separate internal network.
For an analog HD system, connect each camera’s video output to a compatible DVR input and use the power supply specified for that camera. Confirm the supported video format, resolution and channel settings. Supply power separately unless both the camera and recorder explicitly support the same power-over-coax system. Do not connect a camera’s BNC video output directly to an NVR Ethernet port.
Step 6: Configure Camera Settings
Activate the devices and change default administrative credentials. For IP cameras, assign unique addresses according to the network plan and add the cameras to the recorder using the supported connection method.
Set the date, time zone and time synchronization. Configure resolution, frame rate, bitrate, image orientation and supported encoding to match the required detail and the system’s limits.
Step 7: Configure Recording and Remote Access
Select continuous, scheduled or event recording according to the monitoring requirement. Set the recording schedule, bitrate and retention target to suit the installed usable storage and the recorder’s supported limits.
Confirm disk status and test playback and clip export. If event recording is required, trigger the intended event and verify that the relevant footage is saved.
Configure authorized remote viewing through a supported, securely configured method. Use individual accounts with appropriate permissions, keep firmware current and disable unnecessary services. Do not use unrestricted internet exposure as a shortcut to remote access.
Step 8: Test the Complete CCTV System
Check every camera’s live view and recorded footage. Verify camera names, timestamps, image detail, night operation, required events, playback, export and authorized remote access.
Where authorized and safe, test loss of internet connectivity separately from power recovery. Check whether local recording continues during the internet outage and whether recording resumes correctly after a controlled restart. Follow the recorder’s shutdown procedure to protect stored footage.
Installation Handover Checklist
Before handover, save the camera list, device models, firmware versions, cable labels, network plan and recording settings. Confirm daytime and night-time footage, playback, clip export, required event recording and authorized remote access with the user.
Document any coverage limitations and the agreed maintenance responsibilities. Transfer account ownership securely; do not include passwords in a general handover document.
IP Camera Installation: Separate Power vs PoE
PoE cameras are IP cameras. The comparison below concerns two power arrangements for a wired IP camera installation.
| Installation factor | Separately powered IP camera | PoE IP camera |
|---|---|---|
| Video connection | Ethernet in the wired arrangement described here | Ethernet |
| Power source | A separate supply specified for the camera | A compatible PoE switch, injector or NVR PoE port |
| Camera cabling | Ethernet plus a separate power connection | One Ethernet cable carries power and data |
| Equipment checks | Network compatibility, supply voltage and power capacity | Network compatibility, PoE standard, per-port power and total power budget |
| Installation considerations | Plan both the data route and the power supply location | Plan the Ethernet route and verify power delivery over the installed link |
Neither arrangement removes the need to check recorder compatibility, cable condition, image settings and recording performance.
NVR Installation and CCTV Storage Configuration
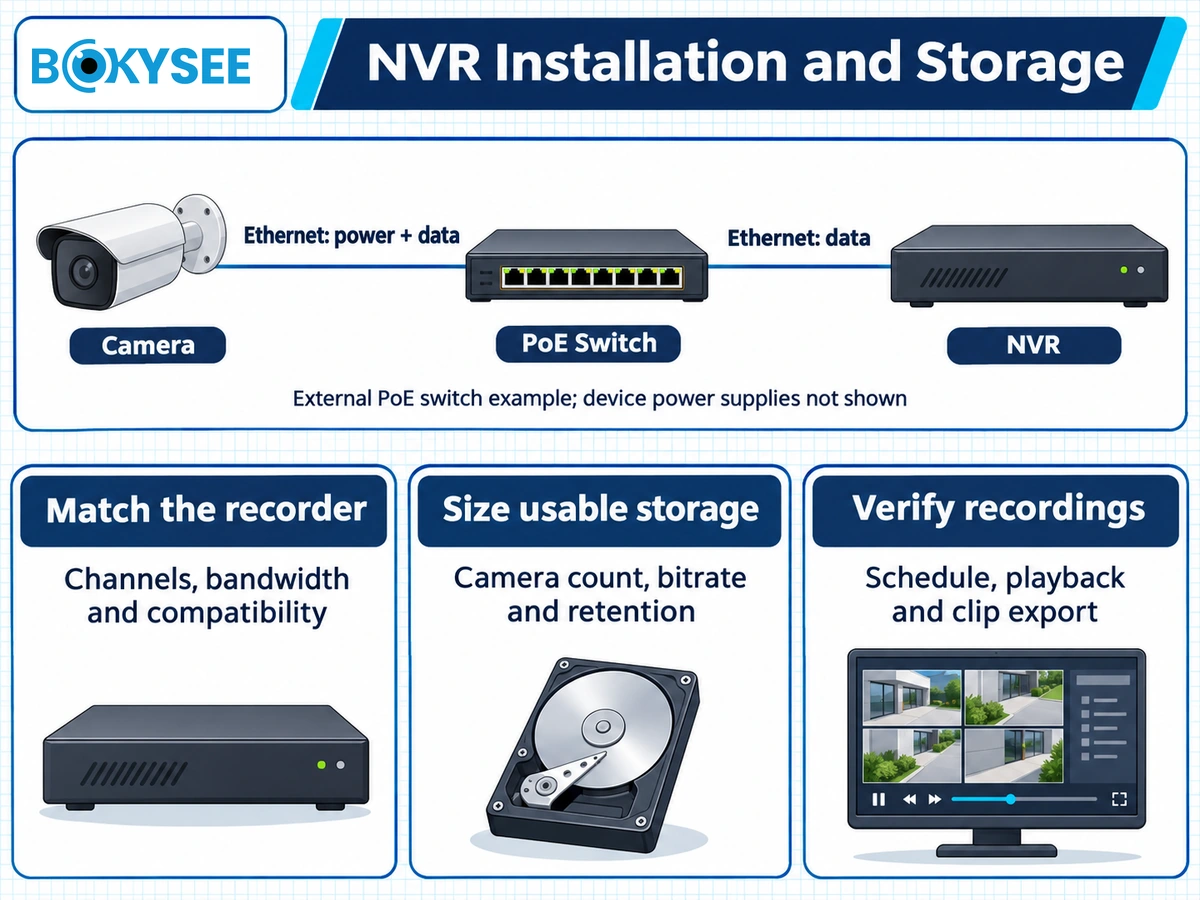
Recording requirements should guide the configuration. A connected camera is useful only if the required footage can be stored, found and exported.
Connect Cameras and Confirm Recorder Limits
Check each camera’s connection status and the selected recording stream. Verify that the recorder supports the required camera quantity, incoming bandwidth, encoding and recording settings. Channel count and physical PoE port count are separate specifications.
If a camera cannot be added, check its power, network settings, activation, credentials and supported stream before changing unrelated settings.
Choose the Right Storage Capacity
Storage needs depend on camera count, actual bitrate, recording hours and retention period. Resolution, frame rate, encoding, scene activity and image noise can affect bitrate. Confirm usable storage after any relevant formatting or storage configuration.
At otherwise equivalent settings, event recording may reduce storage use, but savings depend on how often events occur and on pre-event and post-event recording settings. Size storage against the required retention period rather than assuming a fixed saving.
For detailed sizing, see our NVR capacity guide and check channel count, incoming bandwidth, decoding limits and usable storage separately.
Check Recording Schedules, Overwrite Settings and Exports
Confirm the recording mode for each channel. Check whether the recorder overwrites the oldest footage when storage is full and whether that behavior matches the retention requirement.
Test playback from different cameras and time periods. Export a sample clip and confirm it can be opened using the supported playback method. Exporting selected evidence is a separate task from maintaining an ongoing backup arrangement.
Common CCTV Camera Installation Mistakes to Avoid
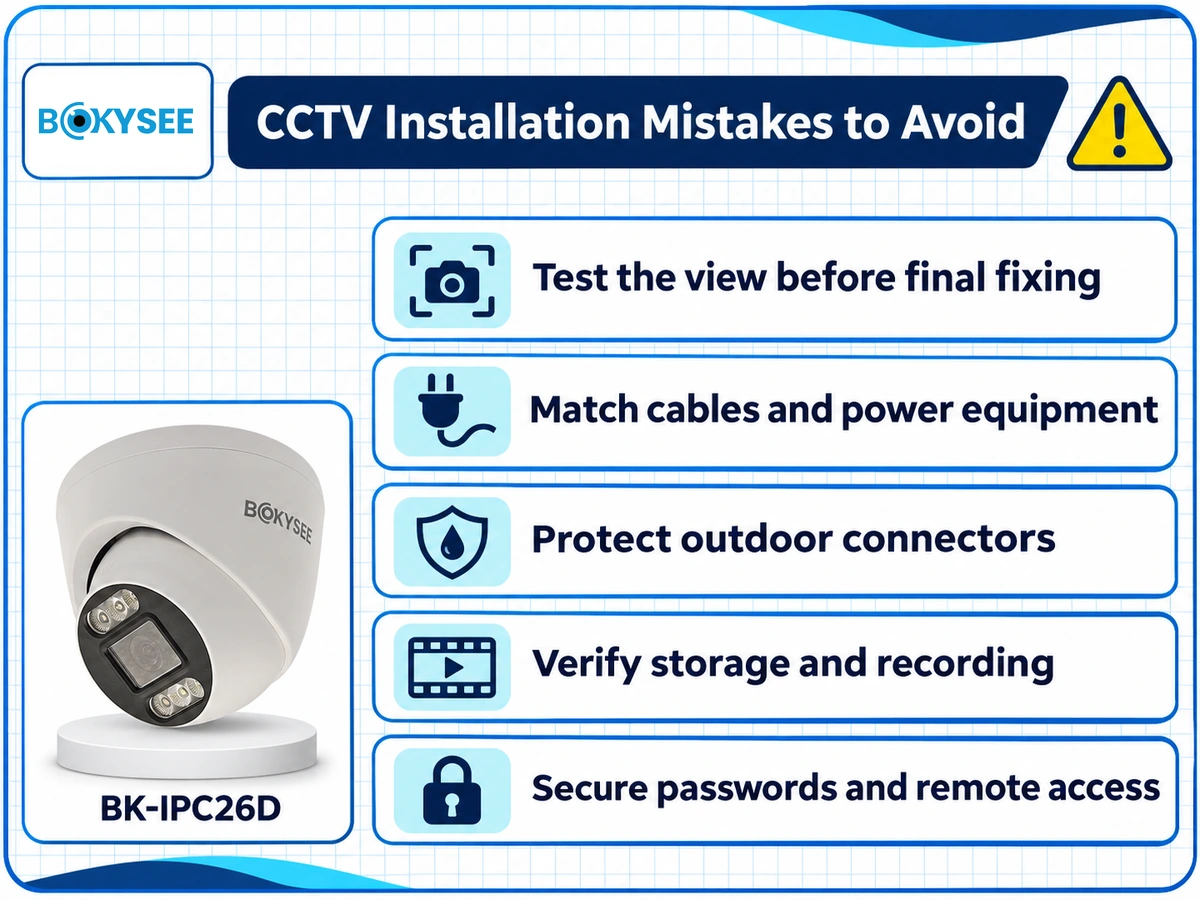
Installing Cameras Without Testing the View
A powered camera can still miss the required subject. Test the view and recorded detail before final tightening, including the lighting conditions expected during operation.
Using Incompatible Cables or Power Equipment
Incorrect terminations, unsuitable power supplies, insufficient PoE capacity or an unsupported cable run can cause connection failures. Check the complete connection path rather than replacing the camera first.
Ignoring Weatherproofing and Cable Protection
An outdoor-rated housing does not automatically protect exposed connectors. Check junction boxes, cable entries and protective fittings, and follow the installation instructions for the selected model.
Choosing Inadequate Storage or Recording Settings
Storage may fill before the target retention period, or an incorrect schedule may leave gaps. Recheck usable capacity, bitrate, recording hours and playback whenever recording settings change.
Leaving Passwords and Remote Access Unsecured
Replace default credentials, restrict account permissions and use supported firmware from an authentic source. Review remote access and disable services that the installation does not require.
CCTV Installation Troubleshooting Checklist
Change one variable at a time and record the result.
| Problem | Possible cause | Recommended check |
|---|---|---|
| Camera is offline | Power, cabling or network configuration | Test compatible power and a known-good cable, then check addressing and network access. |
| No video on the recorder | Credentials, connection settings or unsupported stream | Confirm activation, login details and supported format, resolution and encoding. |
| Night footage is unclear | Reflections, lighting or unsuitable exposure | Inspect moving targets in recorded night footage and check nearby reflective surfaces. |
| Recording is missing | Schedule, event linkage or storage issue | Check recording mode, disk status, timestamps and recorder logs. |
| Remote viewing fails | Account, service or network configuration | Confirm local operation first, then check the approved remote-access method. |
| Camera keeps disconnecting | Unstable power, damaged cable or network fault | Compare the installed run with a short tested connection and check PoE capacity. |
For persistent faults, provide support with the device models, firmware versions, connection layout, settings and fault times. Use qualified assistance for damaged wiring, electrical faults or unsafe access.
Professional CCTV Installation vs DIY Installation
When DIY Installation Makes Sense
A small system may suit DIY installation when mounting and cable routing can be completed safely and the installer can configure recording and secure access. Follow the manuals and test the complete recording path before relying on the system.
When Professional Installation Is Better
Commercial sites, difficult access, long cable routes, multi-building networks and integration requirements may need professional installation. Define the coverage, recording and handover requirements before agreeing to the work.
What to Check Before Hiring an Installer
Ask for an itemized equipment and labor quotation. Confirm device compatibility, cable protection, storage configuration, testing, documentation, warranty responsibilities and support terms.
Explore More CCTV Camera Guides
Explore our related guides on CCTV camera selection, IP cameras, PoE camera systems, and outdoor security cameras to make informed decisions for your surveillance projects.
PoE Camera Troubleshooting: Power, Video & NVR Fixes
Top 10 CCTV Manufacturers and Suppliers in China
PoE IP Camera: A Complete Buying Guide
PoE vs WiFi vs 4G Solar Security Cameras: Which System Is Best for Your Project?
How to Find the Best Security Camera Supplier for Wholesale or Private Label Business
Why Install Solar Powered Security Cameras at Construction Sites
How Much Sunlight Does an Outdoor Solar Security Camera Really Need?
Do Solar Security Cameras Work in Winter? Cold Weather Performance Tips
The Ultimate Guide to Solar Powered Jobsite Cameras for Construction Security
ONVIF IP Camera Compatibility: What Installers Should Check Before Buying
Frequently Asked Questions
How Much Does CCTV Camera Installation Cost?
Cost depends on the cameras, recorder, storage, cable routes, access requirements and labor. Request a site-specific quotation that separates equipment, installation and any ongoing services.
Can I Install CCTV Cameras Myself?
Yes, if the system is small and the mounting, wiring and configuration can be completed safely. Use professional assistance when the work requires skills or access equipment you do not have.
How Long Does Installation Take?
The time depends on camera quantity, site size, cable routes, access and configuration requirements. Agree on a schedule after the site survey rather than relying on a universal time estimate.
What Is the Best Cable for CCTV Camera Installation?
Use the cable type and termination specified for the camera and recorder. Wired IP cameras commonly use Ethernet; analog HD systems commonly use compatible coaxial cable. Check distance, installation environment and power delivery separately.
How Do I Install a PoE CCTV Camera?
Test the camera, mount it, and connect a suitable Ethernet cable to a compatible PoE source. Add it to the intended recording system, configure its settings, and verify live video, recorded playback and export.
Do CCTV Cameras Need an NVR to Record?
No. Some IP cameras can record to a supported memory card, compatible network storage or a cloud service. Availability depends on the model and configuration. Analog cameras normally require a compatible DVR or another supported recording path.
Where Should Outdoor CCTV Cameras Be Installed?
Consider entrances, driveways, parking areas, loading docks and other priority locations. Select the position according to target detail, lighting, protection and safe maintenance access.
Why Is My CCTV Camera Not Showing Video?
Possible causes include loss of power, faulty cabling, incorrect network settings, invalid credentials or incompatible recording equipment. Check power and the connection path first, then verify the settings for the chosen system.
How Can I Access CCTV Cameras Remotely?
Use a remote-access method supported by the camera or recorder and configured for the site’s security requirements. Confirm account permissions, firmware and network connectivity, then test authorized access.
How Often Should a CCTV System Be Maintained?
Set the maintenance interval according to the manufacturer’s guidance and site conditions. Check camera views, lens or cover cleanliness, outdoor connections, recording, storage and account access. Dust, weather and heavy use may require more frequent checks.
Final Thoughts
Reliable CCTV camera installation starts with a clear monitoring plan and compatible equipment. Complete the mounting, cabling and configuration carefully, then verify recorded footage under the conditions that matter at the site. Keep the handover records so the system can be maintained and expanded.
Planning a CCTV installation or sourcing equipment for a project? Send BOKYSEE your camera quantity, monitoring locations, cable distances, target recording period and existing recorder model. Request current datasheets and confirm the intended camera-and-recorder combination before placing an order.






 English
 Spanish
 Russian