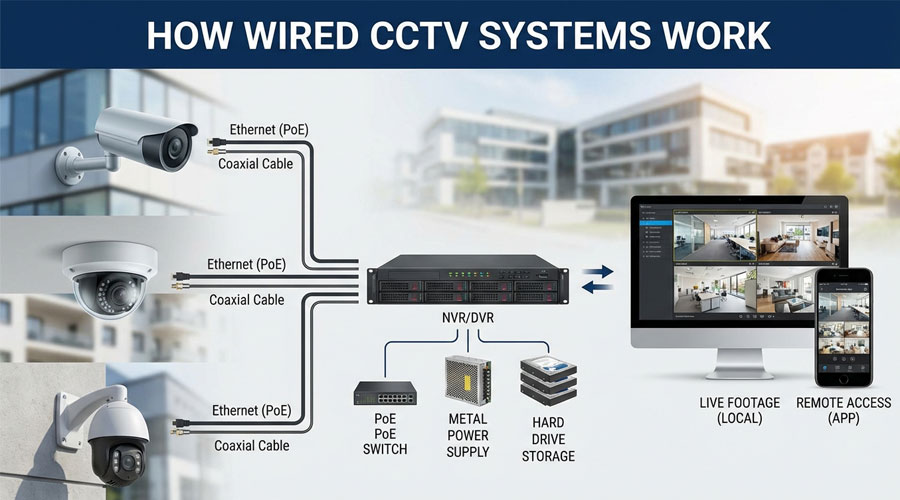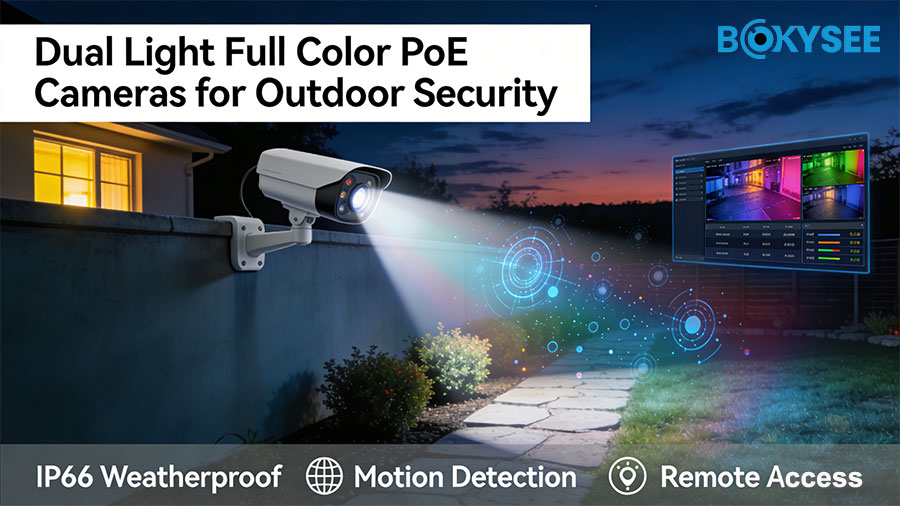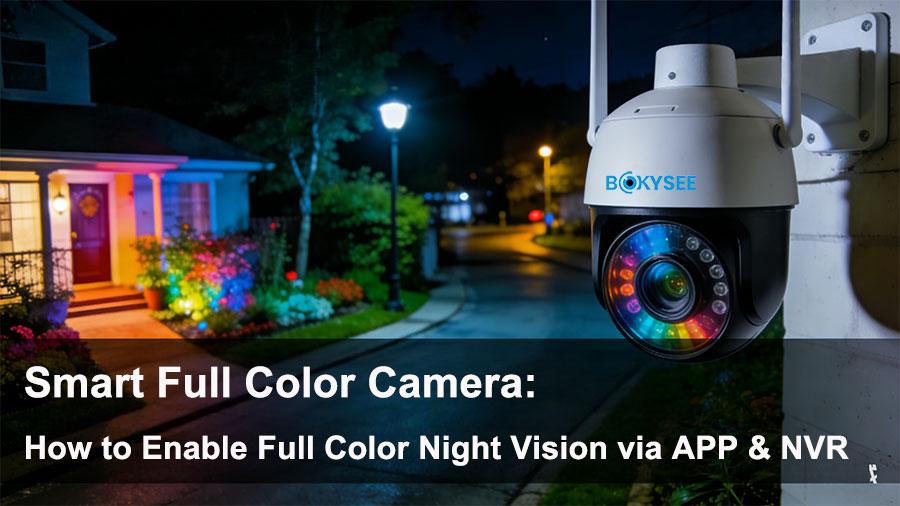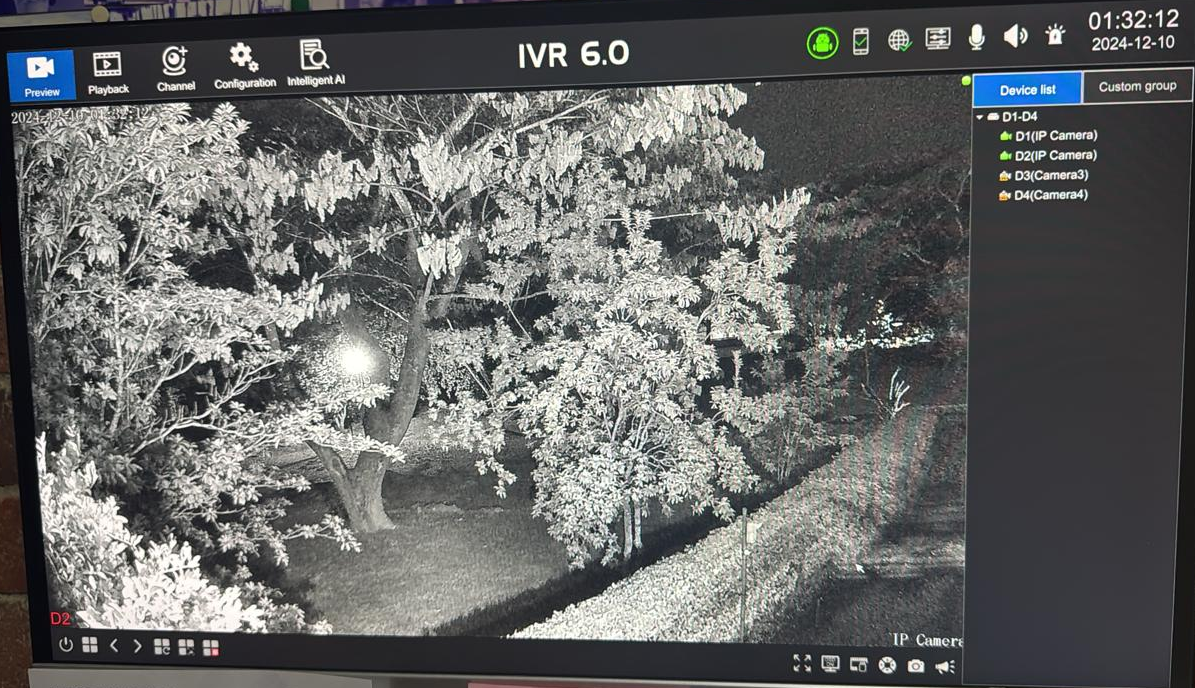
Bokysee IP Security Camera is important for modern security. Its advanced features meet different safety needs with accuracy. Unlike home cameras, Bokysee cameras work at a professional level. Setting image encoding improves efficiency and picture quality. Adjusting settings helps the camera in tough conditions. Bokysee cameras are used in homes and businesses. Clear images make monitoring more accurate. Custom settings let users improve how the camera works. Bokysee cameras fit easily into any CCTV system. Better audio and video encoding make them even more useful.
Understanding Camera Encode Settings in Bokysee IP Security Cameras
What Are Camera Encode Settings?
Definition and Purpose
Camera Encode Settings are the controls for video processing. They decide how video is compressed and stored. These settings affect video quality, size, and format. Adjusting them helps the camera work better. Encoding changes raw video into a smaller, usable format.
The goal is to balance video quality with storage use. High-quality videos need more space and internet speed. Good encoding saves space but keeps clear images. Bokysee cameras use smart encoding for different security needs.
Key Parts of Encode Settings
Encode Settings have important parts that affect camera performance. Each part helps decide how good and efficient the video is:
-
Resolution: Sets the size of the video. Bigger sizes mean clearer images but need more space.
-
Frame Rate (FPS): Shows how many pictures are taken each second. More frames make smoother videos.
-
Bitrate: Controls how much data is used per second. Changing it affects video quality and file size.
-
Compression Standard: Decides how video is compressed. H.264 and H.265 are common and save space well.
Wayne Hahne, a security expert, says,
"Encoders improve old CCTV systems by making them work with new digital tools. This makes security systems better and more useful."
Why Encode Settings Are Important
Effects on Image Quality
Good Encode Settings make camera images clearer. High resolution shows details like faces or license plates. Frame rate changes help videos look smooth and less blurry.
Digital tools reduce shaking for clearer images. H.265 keeps videos sharp but uses less space. Bokysee cameras use these tools for clear videos in all conditions.
Helps Save Space and Internet
Smart Encode Settings save storage and internet use. High resolution and bitrate need more resources. H.265 makes files smaller but keeps them clear. This lets users save more videos and stream easily.
Bokysee cameras work well with NVRs for bigger systems. They allow flexible settings for homes or businesses. Adjusting these settings improves how the system works overall.
Key Features of Bokysee IP Security Cameras
Advanced Image and Video Encoding Capabilities
High-Resolution Image Capture
Bokysee IP Security Camera models give clear image quality. They capture small details like faces or license plates. The Smart IP Camera series offers 3MP to 8MP options. These cameras work well in any setting. Special lenses and sensors help in low light. Night vision shows clear footage up to 100 feet in darkness. This ensures 24/7 monitoring for homes and businesses.
The Covert Camera Series is great for hidden surveillance. These cameras stay discreet but keep high resolution. The Multi-sensor Camera uses several lenses for wide coverage. This reduces blind spots and improves security. Bokysee cameras provide sharp image quality for many uses.
Support for H.264, H.265, and Other Standards
Bokysee IP Security Camera systems use H.264 and H.265 compression. These formats shrink file sizes but keep good visuals. H.265 saves space and internet use, great for big setups. Users can store more videos without losing quality. MPEG4 and MJPEG formats add more recording choices.
The Smart IP Camera series works with modern Camera System setups. It connects easily to network video recorders. The PoE NVR System and WiFi NVR System make recording simple. Bokysee cameras perform well with many encoding standards.
Integration with Network Protocols
Compatibility with NVRs and Cloud Storage
Bokysee IP Security Camera systems work with NVRs and cloud storage. The PoE NVR System uses one cable for power and data. This setup is neat and reliable. The WiFi NVR System allows wireless placement. Both systems connect smoothly with Bokysee cameras.
Cloud storage lets users view footage from anywhere. This is helpful for homes, businesses, or outdoor areas. Bokysee cameras keep recordings safe and easy to access. The Home Camera System is designed for home use, offering trusted surveillance.
POE and Connected Device Support
Bokysee Smart IP Camera models use PoE for easy setup. One cable handles power and data, saving time and money. The PoE NVR System works with all PoE devices, creating a strong Camera System.
The Covert Camera Series and Dome Camera work with smart devices. Users can control cameras through apps. Bokysee cameras also support third-party software for flexibility. PoE technology makes these cameras a smart choice for security.
The Face Capture Solution adds extra safety by identifying faces. Bokysee's Wildlife Cameras are tough and work well outdoors. These cameras offer complete solutions for advanced security systems.
How to Access Bokysee Camera Encode Settings
Logging into the Camera Web Interface
Step-by-Step Login Instructions
To change settings, log into the camera's web page. Open a browser and type the camera's IP address. Make sure your computer is on the same network as the camera. A login screen will show up.
Type the username and password you set earlier. If you didn’t change them, use the default ones. Click "Login" after entering the details. The page will load, showing all the camera settings, including video encoding options.
Troubleshooting Login Issues
If you can’t log in, check your username and password. Reset the camera if you forgot the login details. Press the reset button on the camera to restore factory settings.
If the login page doesn’t load, check your network connection. Ensure the camera and computer are on the same network. Use an IP scanner to find the camera’s IP address. Try updating your browser or using a different one if the page still won’t load.
Navigating to the Encoding Settings Menu
Locating the Menu via Camera Web Login
Once logged in, go to the main dashboard. Find the "Settings" or "Configuration" tab in the menu. Click it to see more options. Look for "Video Encoding Settings" or "Encode Settings via Camera."
Click to open the encoding settings menu. Change things like resolution, frame rate, or bitrate. Save your changes when done. These updates will improve video quality and save storage space.
Accessing Settings via NVR Interface
You can also adjust settings through the NVR interface. Connect the camera to the NVR system. Log into the NVR using its username and password.
Go to the camera management section in the NVR menu. Pick the camera you want to adjust from the list. Open its settings and find "Encode Settings via NVR." Change the settings and save them. This method is easier for systems with many cameras.
How to Configure Image Parameter Encoding Settings
Adjusting Resolution and Frame Rate
Recommended Settings for Different Scenarios
Changing resolution and frame rate helps the camera work better. High resolutions like 1080p or 4K show clear details. These are good for seeing faces, license plates, or small objects. Lower resolutions like 720p use less storage and work for less detailed areas.
Frame rate depends on how busy the area is. A 30 FPS frame rate is smooth for busy places like entrances. A 15 FPS frame rate works for quiet spots like storage rooms. Picking the right resolution and frame rate improves video and saves resources.
Balancing Quality and Bandwidth
To save space, balance quality and bandwidth carefully. Higher resolutions and frame rates need more storage and internet. Lowering these settings saves space but keeps good quality. For example, 1080p at 20 FPS balances clarity and storage use.
H.265 compression makes files smaller without losing quality. This lets you record longer on the same storage. Adjusting these settings helps the camera work well with your system.
Setting Bitrate and Compression Levels
Fixed vs. Variable Bitrate (CBR vs. VBR)
Choosing CBR or VBR changes how video is stored. CBR keeps the same bitrate for steady quality. It’s good for places with little change in activity. VBR changes bitrate based on what’s happening, saving space in busy areas.
For example, CBR at 4 Mbps works well in a warehouse. VBR lowers bitrate during quiet times to save storage. Picking the right mode makes the camera system more efficient.
Optimizing Compression for Storage Efficiency
Compression helps save storage space. H.265 compression is better than older types like H.264. It makes files smaller but keeps the video clear. This means you can store more footage without losing quality.
Changing the compression ratio also helps. Higher compression saves space but may lower quality. Lower compression keeps better quality but uses more storage. Adjusting these settings balances quality and storage needs.
Enabling Advanced Encoding Features
Dynamic Range Adjustment
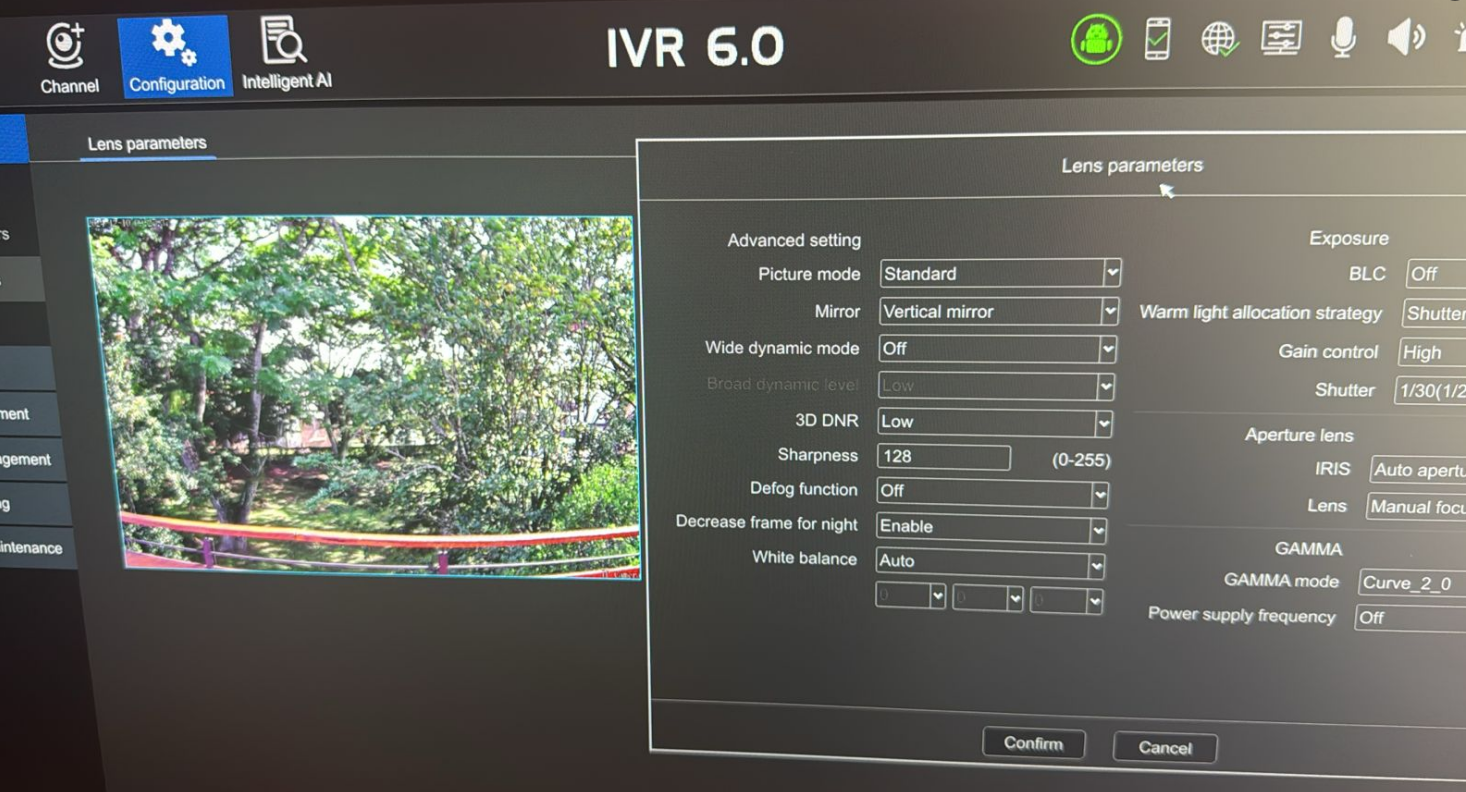
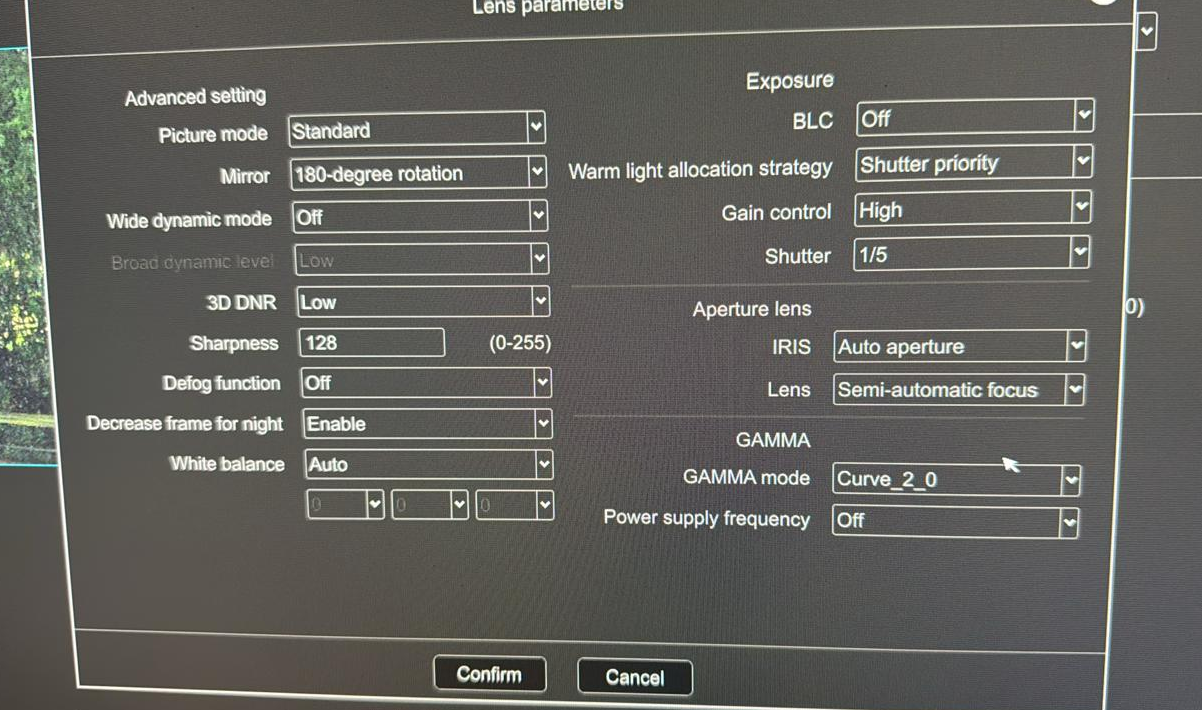
Dynamic range adjustment makes images clearer in tricky lighting. It shows details in both bright and dark areas. This setting helps in places with sunlight and shadows. Turning it on keeps important details visible.
Modern cameras adjust lighting automatically with smart tools. Using this feature gives clear videos in all kinds of light.
Noise Reduction and De-fog Settings
Noise reduction clears up grainy videos in low light. It’s great for nighttime or dark areas. Turning it on makes videos clearer and easier to see.
De-fog settings help in foggy or hazy weather. They sharpen the video and improve contrast. This makes the camera work well in bad weather. Adjusting these features ensures clear footage in any condition.
Troubleshooting Common Encoding Issues in Bokysee Cameras
Poor Image Quality
Causes and Solutions
Blurry images can happen due to wrong settings or lighting. Low resolution or frame rate can make videos unclear. A low bitrate might cause blocky or fuzzy footage. Bad lighting, like dim areas or glare, also affects quality.
To fix this, match the resolution to your needs. Use a higher frame rate for busy areas. Increase the bitrate for sharper videos. H.265 compression keeps videos clear while saving space. Turn on dynamic range adjustment to handle tricky lighting.
Adjusting Brightness, Contrast, and Saturation
Wrong brightness can make videos too dark or too bright. Poor contrast hides details in shadows or bright spots. Low saturation makes colors look dull and boring.
Fix brightness by adjusting it until the image looks normal. Change contrast to show details in light and dark areas. Adjust saturation for bright and natural colors. Bokysee cameras have tools to fine-tune these settings. Check these settings often for the best video quality.
High Bandwidth Usage
Identifying the Problem
High bandwidth happens when settings use too much data. High resolution and frame rates need more network space. Audio streams can also add to the problem.
To find the issue, watch for unusual network activity. Check the resolution, frame rate, and bitrate settings. Turn off audio if it’s not needed. Use network tools to find which camera is using too much data.
Reducing Bitrate and Frame Rate
Lowering bitrate reduces the data sent every second. Reducing frame rate means fewer pictures are taken each second. These changes save bandwidth but keep important details.
For quiet areas, set the frame rate to 15 FPS. Use variable bitrate (VBR) to adjust data use based on activity. H.265 compression makes files smaller but keeps them clear. These changes help save network space.
Storage Limitations
Managing Storage Space
Storage fills up fast with high-quality videos. Big files from high resolution and bitrate use more space. Old compression formats make the problem worse.
Switch to H.265 compression to save space. Lower resolution for less important areas. Record only during busy times to save storage. Delete old videos often to make room for new ones.
Using Cloud Storage Options
Cloud storage helps when local storage is full. It keeps videos safe and easy to access online. Bokysee cameras work well with cloud systems.
Connect the camera to a cloud service to use it. Set up automatic uploads for backups. Pick a plan that fits your storage needs. Cloud storage gives easy access without worrying about running out of space.
Best Practices for Maintaining Encode Settings
Regular Firmware Updates
Why Updates Matter
Firmware updates make GOLBONG IP Security Cameras work better. They fix bugs that can cause problems with encoding. Updates also help cameras work with new technology. Old firmware may lead to blurry images or system errors. Updating often keeps the camera running smoothly.
Updates also protect against online threats. They keep the Platform Server safe from hackers. Updated firmware ensures the LIVE DEMO feature works well. Keeping firmware up-to-date improves encoding and overall performance.
Steps to Update Firmware
Log into the camera's web page to check for updates. Find the firmware update option under the system or maintenance tab. Download the newest firmware from the GOLBONG website. Upload it to the camera using the web page. Follow the instructions to finish the update.
Make sure the camera has steady power during the update. Don’t disconnect it from the Platform Server while updating. Restart the camera after the update to apply changes. Test the LIVE DEMO feature to ensure the update worked. Check for updates often to keep the camera at its best.
Reviewing Settings Regularly
Adjusting for Changing Needs
Surveillance needs can change over time. Change encoding settings to match lighting or activity levels. Busy areas need higher resolution and frame rates. Quiet places can use lower settings to save space. Reviewing settings often keeps video quality good for each area.
The Platform Server tracks how the system is working. Use this data to find areas that need changes. The LIVE DEMO feature lets you test new settings right away. Adjust settings to save bandwidth and storage. Regular reviews help the camera meet your security goals.
Keeping Track of Changes
Writing down changes helps avoid confusion later. Record any changes to resolution, bitrate, or compression. Keep a log for each GOLBONG IP Security Camera in the system. Include the date, time, and reason for each change.
Save these logs safely on the Platform Server. Use them to go back to old settings if needed. The LIVE DEMO feature can check if new settings work well. Keeping organized records makes managing the system easier. Good record-keeping improves long-term security efficiency.
Setting up encoding properly helps cameras work better. Choosing the right settings gives clear videos and saves storage. H.265 compression makes files smaller but keeps them sharp. Updating firmware often keeps the system working well. Checking settings regularly helps meet new security needs. These steps make Bokysee cameras work their best. A good system gives better security and clear images for a long time.
See Also
Boosting Home Safety Using POE Security Cameras Effectively
Essential Tips for Purchasing 4G Security Cameras
Understanding the Range of Security Camera Vision


