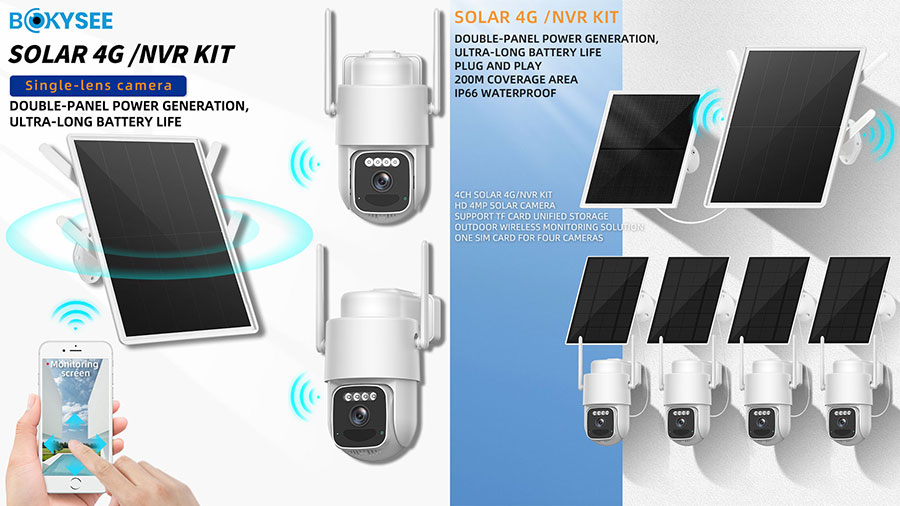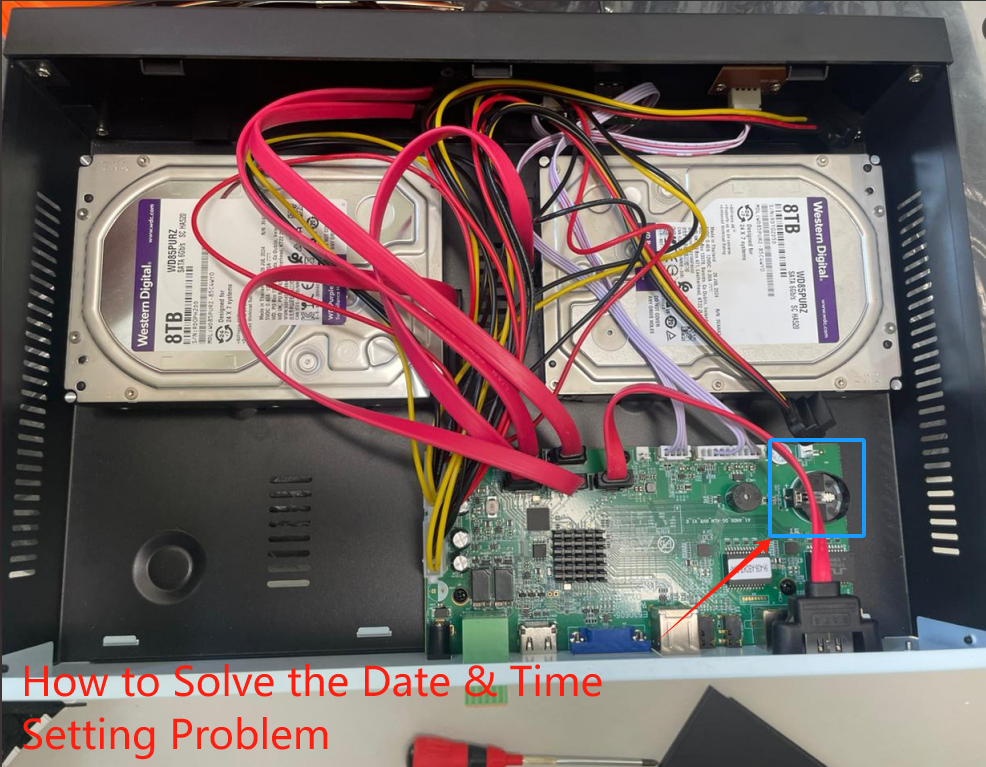
Los sistemas NVR son esenciales en las configuraciones de seguridad actuales, y la batería del NVR es un componente clave que ayuda al sistema a mantener su configuración durante cortes de energía. Garantizar el buen estado de la batería del NVR es crucial para la confiabilidad del sistema. Las inspecciones periódicas y el reemplazo oportuno de la batería del NVR pueden prevenir posibles problemas operativos. Un mantenimiento adecuado prolonga la vida útil del sistema NVR. Los usuarios deben priorizar el cuidado de la batería del NVR para garantizar una monitorización de seguridad ininterrumpida y eficiente.
Entendiendo la batería del botón del NVR
¿Qué es una batería de botón NVR?
Definición y propósito
Una batería de botón NVR alimenta el reloj interno de un Sistema NVREsta batería garantiza que el sistema conserve la configuración durante cortes de energía. La batería del NVR es crucial para mantener la precisión de la fecha y la hora.
Tipos y especificaciones comunes
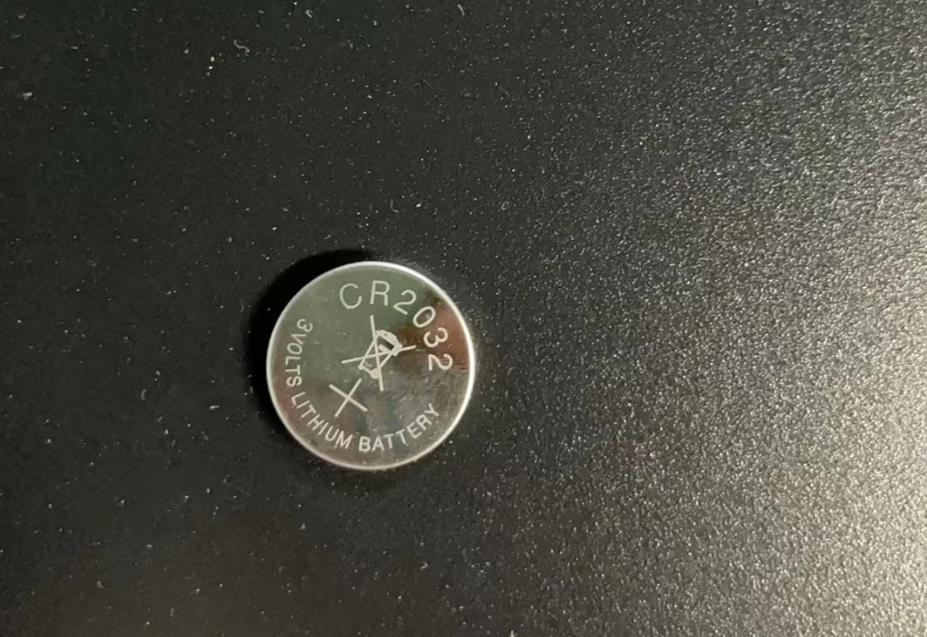
El tipo más común de batería NVR es la CR2032 Pila de botón de litio. Esta batería ofrece fiabilidad y larga duración. Los fabricantes recomiendan consultar las especificaciones para garantizar la compatibilidad con el modelo de NVR.
¿Por qué es importante?
Función en el mantenimiento de la configuración del sistema
La batería del NVR mantiene la configuración esencial del sistema, como la hora, la fecha y los datos de configuración. Una batería en buen estado evita que se pierdan estos ajustes durante cortes de energía.
Impacto en el rendimiento del NVR para el sistema de cámara NVR
Una batería NVR confiable garantiza un rendimiento óptimo. Permite un funcionamiento continuo sin interrupciones. Las revisiones periódicas y los reemplazos oportunos mejoran la eficiencia general del sistema NVR.
¿Por qué mi? grabadora de video ¿Restablecer mi fecha a los años 1970?
Causas comunes de restablecimiento de fecha
Fallo de la batería del reloj interno
La batería del reloj interno de un sistema NVR a menudo falla. batería defectuosa No se pueden mantener los ajustes de fecha y hora correctos. Este fallo provoca que el sistema vuelva a una fecha anterior, como la de 1970. Revisar la batería regularmente previene este problema. Reemplazar la batería a los intervalos recomendados garantiza un funcionamiento correcto.
Fallos de firmware
Los fallos de firmware también provocan el restablecimiento de la fecha. Los errores de software impiden que el sistema conserve la configuración de fecha. Las actualizaciones periódicas de firmware solucionan estos fallos. Los fabricantes suelen publicar actualizaciones para solucionar problemas conocidos. Los usuarios deben instalar las actualizaciones con prontitud para mantener la fiabilidad del sistema.
Impacto de una configuración de fecha incorrecta
Problemas de integridad de los datos
Una configuración de fecha incorrecta provoca problemas de integridad de los datos. El sistema graba las grabaciones con una fecha y hora incorrectas. Este etiquetado incorrecto dificulta la recuperación de datos. A los usuarios les resulta difícil localizar eventos específicos. Una configuración de fecha precisa garantiza un almacenamiento y una recuperación de datos fiables.
Problemas de sincronización del sistema
Los problemas de sincronización del sistema surgen debido a una configuración de fecha incorrecta. El sistema NVR no se sincroniza con otros dispositivos de la red. Esta desalineación afecta el rendimiento general del sistema. Una configuración de fecha correcta garantiza un funcionamiento fluido en todos los dispositivos. Las comprobaciones y actualizaciones periódicas mantienen la sincronización y la eficiencia.
Cómo identificar la batería del botón de grabadora de vídeo en red adecuada
Compatibilidad con modelos NVR
Seleccionar la batería correcta del NVR es crucial para mantener la funcionalidad del sistema. Los usuarios deben garantizar la compatibilidad entre la batería y el modelo del NVR. Esto previene posibles daños y garantiza un rendimiento óptimo.
Comprobación de las especificaciones del fabricante
Los fabricantes proporcionan directrices específicas para baterías compatibles. Los usuarios deben consultar estas especificaciones antes de comprar un reemplazo. Por ejemplo, NVR HIKVISION recomienda utilizar el Batería de litio CR1220Este tipo de batería no es recargable y debe reemplazarse por una idéntica. Desviarse de las recomendaciones del fabricante puede provocar fallos en el sistema.
Compatibilidad con Bokysee NVR
El Grabador de vídeo NVR Bokyses Los modelos requieren una cuidadosa selección de batería. Los usuarios deben verificar la compatibilidad a través del sitio web del fabricante o del manual del usuario. Pueden adquirir baterías compatibles en distribuidores autorizados para garantizar la conformidad.
Por razones de seguridad durante el transporte, podemos retirar la pila de botón del NVR a petición del cliente. Si recibe el NVR sin la pila, recuerde volver a colocarla al configurar el disco duro. Esto es esencial para el correcto funcionamiento del NVR. Puede consultarnos el tamaño de la pila. Normalmente, la mayoría de nuestros NVR utilizan pilas de litio CR2032 de 3 V, de 200 a 230 mAh, con un diámetro de 20 mm y un grosor de 3,2 mm.
Cómo reemplazar la batería del botón del NVR
Reemplazar la batería del NVR implica varios pasos. Una preparación adecuada garantiza un proceso sin complicaciones.
Pasos de preparación
Herramientas necesarias
Se necesitan algunas herramientas para reemplazar la batería del NVR. Un destornillador pequeño ayuda a abrir el compartimento de la batería. Unas pinzas facilitan su manejo. Una pila de botón de litio CR2032 nueva sirve como batería de repuesto.
Precauciones de seguridad
Las precauciones de seguridad son cruciales durante el proceso de reemplazo. Apague el NVR antes de comenzar. Desconecte el NVR de la fuente de alimentación para evitar riesgos eléctricos. Use guantes antiestáticos para evitar descargas estáticas. Asegúrese de que el NVR esté correctamente conectado a tierra para garantizar la seguridad.
Guía de reemplazo paso a paso
Acceso al compartimento de la batería
Acceder al compartimento de la batería requiere mucha atención. Localice el compartimento de la batería en el NVR. Utilice un destornillador para retirar los tornillos que sujetan la tapa. Levante la tapa con cuidado para exponer la batería del NVR.
Quitar la batería vieja
Retirar la batería usada requiere precisión. Use las pinzas para levantar con cuidado la batería vieja del NVR de su ranura. Evite ejercer demasiada fuerza para evitar dañar el compartimento. Deseche la batería usada según las normativas locales.
Instalación de la batería nueva
La instalación de la batería nueva completa el proceso. Coloque la nueva pila de botón de litio CR2032 en la ranura. Asegúrese de que la batería esté correctamente orientada. Fije la tapa del compartimento con tornillos. Vuelva a conectar el NVR a la fuente de alimentación y enciéndalo para verificar el reemplazo.
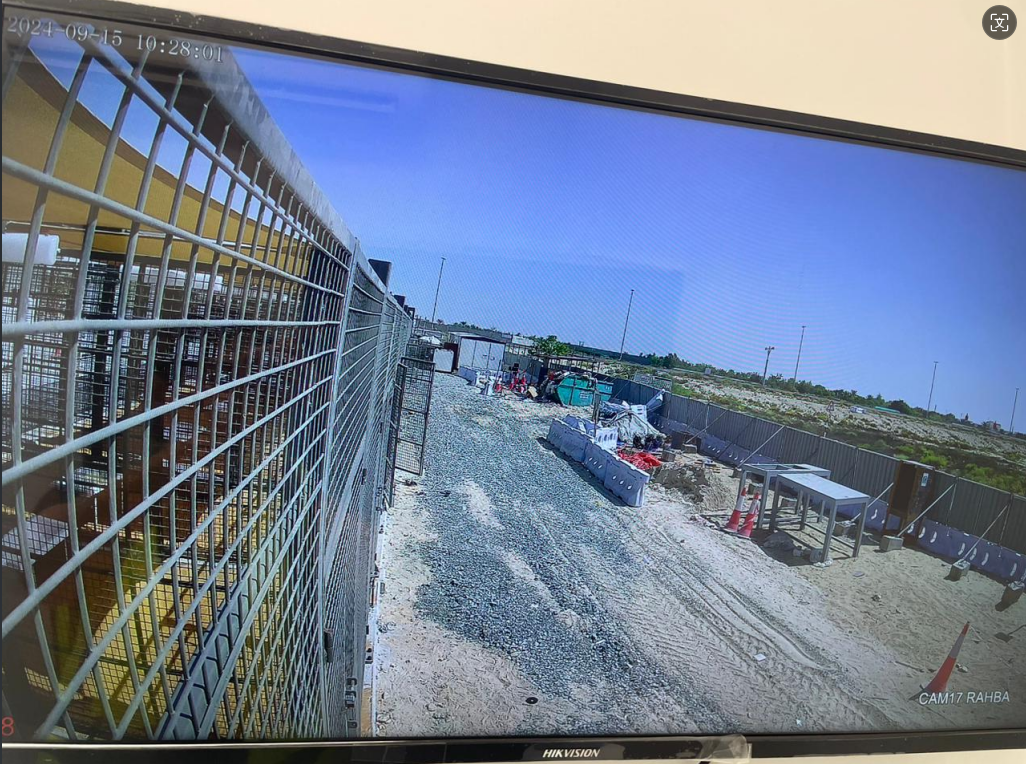
Después de cambiar la batería del grabador de video NVR, podrá ver la fecha y hora más recientes de cada video.
Mantenimiento de la batería de botón de su NVR
Chequeos regulares
Señales de una batería defectuosa
Una batería de NVR defectuosa suele mostrar señales específicas. El sistema puede reiniciarse con frecuencia. La configuración de fecha y hora podría volver a los valores predeterminados. Los usuarios deben notar estos cambios de inmediato. Una batería de NVR débil puede afectar el rendimiento del sistema.
Consejos de mantenimiento programado
El mantenimiento regular garantiza la longevidad de la batería del NVR. Los usuarios deben programar revisiones cada seis meses. Inspeccione la batería para detectar corrosión o fugas. Reemplácela anualmente según las recomendaciones del fabricante. Un mantenimiento constante previene fallos inesperados.
Prolongar la vida útil de la batería
Condiciones adecuadas de almacenamiento
Un almacenamiento adecuado prolonga la vida útil de la batería de un NVR. Guarde las baterías de repuesto en un lugar fresco y seco. Evite la exposición a la luz solar directa. Las altas temperaturas reducen la eficiencia de la batería. Un almacenamiento adecuado mantiene un rendimiento óptimo.
Cómo evitar errores comunes
Evitar errores comunes ayuda a conservar la batería del NVR. No mezcle baterías nuevas y usadas. Utilice únicamente las recomendadas por el fabricante. El uso de baterías incorrectas puede dañar el NVR. Siga las instrucciones para garantizar un uso seguro y eficaz.
Comprender y mantener la batería de botón del NVR es esencial para sistemas de seguridad confiables. Las revisiones periódicas y los reemplazos oportunos garantizan un rendimiento óptimo. Los usuarios deben seguir los pasos descritos para evitar fallas operativas. Un mantenimiento adecuado prolonga la vida útil del sistema NVR. Monitorear el nivel de batería regularmente garantiza... cobertura de vigilancia ininterrumpidaLos usuarios pueden explorar recursos adicionales para profundizar sus conocimientos. El aprendizaje continuo mejora la capacidad de gestionar eficazmente los sistemas de seguridad.
Ver también
Cómo seleccionar el fabricante de CCTV ideal para la protección del hogar
El funcionamiento de las cámaras de seguridad alimentadas por energía solar
Datos esenciales sobre las cámaras CCTV con energía solar
Beneficios de optar por una cámara solar 4G para la seguridad del hogar


